9 Essential Joshua Tree Tips: First-Time Visitors Guide
Joshua Tree is one of my favorite US National Parks, and a place I’ve happily returned to many times as a Los Angeles local! The landscape is incredibly unique, and there are so many amazing hikes and opportunities for rock scrambling.
While the park is fairly easy to navigate, there are some key things everyone should know before going…especially if they are a first-time visitor!
I’m sharing my Joshua Tree tips and tricks to help you plan the perfect visit. Factors like choosing the best park entrance, packing the right supplies, and knowing what to expect once you are in the park can all have a major impact on your trip!
Quick note: this page may contain affiliate links, which means I can earn a commission if you click on the URL and make a purchase (at no additional cost to you!). This helps me run this site and continue to provide free travel guides. You can read my affiliates disclaimer for more info. Thank you!
Understanding the Geography in Joshua Tree
Before I dive into my Joshua Tree guide, let’s do a quick overview of the geography of Joshua Tree National Park to help you understand the area.
The most popular hikes in Joshua Tree are located in a cluster on the northern half of the park, south of the towns of Joshua Tree and Twentynine Palms. These trails are primarily off Park Boulevard and Pinto Basin Road.
On the north end, you have trails like Barker Dam Nature Trail, Hidden Valley Nature Trail, and Ryan Mountain Trail. As you continue moving south, you’ll pass by trails like Jumbo Rocks Campground Loop and Skull Rock Loop before finally ending at Arch Rock Trail.
This general area between Barker Dam (to the north) and Arch Rock (to the south) is where the majority of visitors will spend their time in the park.
There are, of course, plenty of other trails throughout the park beyond this cluster. However, the park gets more remote as you move away from this general area. Additionally, these more remote hikes are typically more challenging, and may not be suitable for the average hiker.
Want to See the Best of California?
Sign up for monthly newsletters and to get my FREE local’s guide on must-visit destinations in Southern California & the Central Coast!
Joshua Tree Travel Tips: What to Know Before You Go
Now that we have an understanding of the geography, let’s talk through the essential things you need to keep in mind as you are planning your Joshua Tree itinerary.
1. Check the Conditions on NPS Before Your Visit
As with all national parks, it’s smart to check the conditions at the park through the Joshua Tree National Park Services prior to visiting. The government agency has an Alerts and Conditions page that is updated regularly to keep visitors informed. Here, they post about hazardous weather conditions, closed roads or trails, and anything else you may need to know before your visit.
2. Pay the Joshua Tree Entrance Fee Online
This is one of my top tips, especially for those planning on visiting Joshua Tree National Park during peak travel season. When the park entrances are more crowded, there are typically two lines: one line for those who still need to purchase a park pass, and another for those who already have a pass. As you can imagine, the latter moves quicker.
In order to get into the park as quickly as possible, I highly recommend purchasing your park pass in advance online. This pass (which costs the same online as it does in person) can be saved to your wallet on your phone, or you can print it out. That means more time in the park for you, and less time sitting in the car – perfect!

3. Fill Up on Gas Before You Enter the Park
A car is an absolute necessity when visiting Joshua Tree. There isn’t any sort of shuttle system within the park, and walking from attraction to attraction is near impossible due to the distance between sights. The entrances are also miles away from the park’s attractions.
With this in mind, it’s important to ensure you have enough gas in the car before you enter the park, as you’ll be doing plenty of driving! Trust me – you don’t want to get stuck in the park running on empty.
There aren’t any gas stations within the park, so you’ll need to top off before entering. There are plenty of stations along the north end of the park, near the West Entrance and North Entrances Stations. You’ll find some in the town of Joshua Tree, as well as Yucca Valley (to the west) and Twentynine Palms (to the east).
If you’re entering through the South Entrance (which is more remote), your options are much more limited. There is just one station in Chiriaco Summit, just a few miles east of Cottonwood Springs Road, which is the road that leads into Joshua Tree. There are also stations in and around Indio (to the west), but that is about a half hour drive from the entrance.
If you need a vehicle for your trip, I recommend booking a rental car through Expedia. On the platform, you can compare options from trusted car rental companies to find your best match. There are plenty of providers in Palm Springs (located about a 50-minute drive from Joshua Tree).
4. Choose the Best Entrance for Your Itinerary
Speaking of the park entrances, it’s also important to be strategic when choosing which entrance to enter and exit through during each day in Joshua Tree National Park.
There are three different entrances leading into the park. The West Entrance Station (which is on the north end of the park) is the most popular entrance. It is a 10-minute drive south of the center of the town of Joshua Tree, and is close to the main trails and sites in the park.
The other entrance located on the north end of the park is the North Entrance Station, which is east of the West Entrance Station. It is under a 10-minute drive from the center of Twentynine Palms, and is also close to the main attractions in the park. This is also a popular entrance, especially for those staying in and around Twentynine Palms.
The final entrance is the South Entrance, which is off Highway 10 on the southern edge of the park. It’s far more remote, and isn’t located near the heart of the park, where (as mentioned above) the overwhelming majority of the trails are located. There isn’t a ranger station that you drive through, so if you haven’t yet bought your park pass, you’ll need to stop at the Cottonwood Visitor Center (about a 10-minute drive north) to pay your entrance fee.
While some travelers may technically be a bit closer to the South Entrance, if the travel time is similar, I would suggest navigating to enter the park through the West or North Entrance Station.
If you enter through the South Entrance Station, you will still need to drive about 40 minutes before you hit Arch Rock Nature Trail on the southern edge of the popular cluster of trails. By contrast, the drive from the West Entrance Station to Hidden Valley Nature Trail (on the northern edge of this cluster) is only about 15 minutes.
That said, depending on where you’ll be going after you visit the park, it may make sense to exit through the South Entrance at the end of the day. For example, if you end the day with sunset at Cholla Cactus Garden (which I highly recommend!) and are headed towards the Palm Desert area, it’ll be much faster to exit through the South Entrance.
5. Bring Water & Food Into the Park
Water stations are few and far between in the park, and there aren’t any sort of facilities selling food or drinks within the park. With this in mind, it’s best to bring more water than you think you need, as well as snacks and meals to keep you energized throughout the day.
Remember that you’re in the desert – proper hydration is a must, especially if you’re visiting when it is hotter outside! Plan on bringing at least two gallons of water per person for the day if you’re planning on being active (hiking, climbing, etc.) in the heat.
6. Pack Sun Protection & Layers
In addition to water and food, it’s essential that you include sunscreen on your Joshua Tree packing list. You’ll be spending the entire day out in the desert sun.
Since you’ll likely get a bit sweaty, it’s best to use a water-resistant sunscreen. I also recommend bringing an SPF part powder to keep your scalp protected, especially if you aren’t wearing a hat!
Additionally, it’s smart to bring layers with you, particularly if you’re planning on visiting during sunrise and sunset. Even if it’s warm during the day, the desert can get very chilly in the early and late hours. A good jacket (and potentially some gloves and a hat, depending on how cold it will get) will help you comfortably continue your adventure!
7. Download Google Maps for Offline Use
Cell service is very unreliable within Joshua Tree National Park, so you can’t rely on data for navigation. Keeping that in mind, I highly recommend downloading the map of the area for offline use through Google Maps.
Within the app, all you have to do is drop a pin on a spot in the park, and then scroll over to the “More” button with the three dots. Press “Download offline map”, adjust the framing to select what section of the park you want to save, and then press “Download”!
I also suggest signing up for AllTrails+ (previously known as AllTrails Pro), which allows you to download trail maps for offline use. This is an especially handy tool if you’re planning on enjoying some longer hikes, but I’ve also found it to be helpful on short and sweet trails, as well! Note that a yearly subscription is required.
8. Wear Hiking Boots – Especially if You Want to Rock Scramble
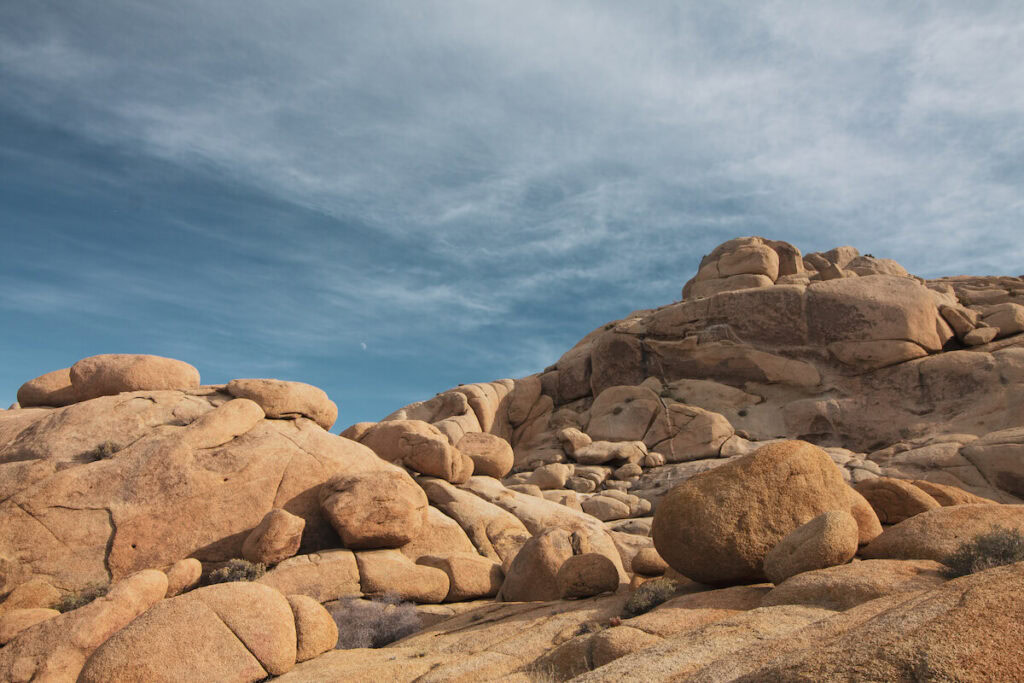
If you plan on doing lots of hiking in Joshua Tree, you’re going to want to wear supportive shoes. Even if you’re sticking with easier trails, good hiking boots will ensure your feet stay comfortable throughout the entire day. Compared to typical athletic shoes, hiking boots will also provide much better traction if you’re planning on doing some rock scrambling when you explore the park (which, in my opinion, is a must!).
For those looking for new hiking boots, I love my Merrel boots, which have stayed in great condition over the years. I recommend the Merrell Women’s Moab 3 Mid Waterproof Hiking Boot and the Merrell Men’s Moab 3 Mid Waterproof Hiking Boot. These are the updated versions of the boots I’ve happily owned for more than a decade!
9. Check Permitting Requirements for Backpacking
Finally, those interested in backpacking in the backcountry will want to be sure to read up on permitting requirements prior to their visit. There are specified areas within the park where backpacking is allowed, and permits are required to stay overnight.
Keep in mind that backpacking and camping in the backcountry is best suited for more advanced hikers. If you’re interested in sleeping under the stars in the park, consider camping at one of the park’s many campgrounds, which you can drive up to. There are campgrounds that require advanced reservations, as well as first come, first served sites.
Have an incredible time exploring beautiful Joshua Tree National Park! Here are some additional travel guides to help you plan your trip:
- The Ultimate Joshua Tree Day Trip Itinerary
- The Perfect Weekend Trip to Joshua Tree National Park
- 12 Best Hikes in Joshua Tree (Trails for All Skill Levels!)
- The Best Time To Visit Joshua Tree: A Quick Guide
- What To Pack For Joshua Tree: A Complete Guide For Day Visitors
If you’ll also be visiting nearby Palm Springs, take a look at these travel guides:



5 Comments
Comments are closed.