The Perfect 2-Day Sequoia National Park Itinerary
Two days is the perfect amount of time for exploring Sequoia National Park, especially if you’re visiting for the first time! You’ll be able to see the best of the park, fully experiencing the magic of walking underneath the giant sequoias.
My Sequoia National Park itinerary includes highlights like General Sherman, the Congress Trail (my favorite!), Crystal Cave, Moro Rock, Tunnel Log, and so much more. It’s jam-packed, but still totally manageable with two full days in the park.
This is the exact itinerary I followed during my most recent visit. It’s ideal for a visit sometime in the late spring to mid/late fall, before snow leads to road and trail closures in the park.
This guide also covers helpful travel advice based on my time in the park, info on where to stay, and transportation logistics.
Quick note: this page may contain affiliate links, which means I can earn a commission if you click on the URL and make a purchase (at no additional cost to you!). This helps me run this site and continue to provide free travel guides. You can read my affiliates disclaimer for more info. Thank you!


Want to See the Best of California?
Sign up for monthly newsletters and to get my FREE local’s guide on must-visit destinations in Southern California & the Central Coast!
Quick Tips for Your Trip
Here are a few Sequoia travel tips and things to keep in mind as you’re planning your trip:
- Nearest Airport: If you’re flying in, the closest option is the Fresno Yosemite International Airport (FAT). It’s about an hour and a half drive from the entrance to the park.
- Park Reservations: Sequoia does not have a reservation system for entering the park. That said, campground and lodging reservations should be booked in advance. Crystal Cave tour tickets should also be purchased ahead of time.
- Purchasing a Park Pass: It’s smart to buy a Sequoia park pass in advance online for a quicker entrance into the park.
- Shuttles: Fare-free Sequoia National Park shuttles operate from the late spring through the summer, and around some holidays. They will impact how you navigate the park…I go into more details below!
- Road and Trail Closures: Refer to the official Sequoia and Kings Canyon (aka SEKI) National Park website before your trip to see if any roads and/or trails are closed.
- Gas Stations: There aren’t any gas stations within the park, so be sure to fill up beforehand! There are gas stations in the town of Three Rivers.
Getting to & Navigating Sequoia National Park
For your trip to Sequoia National Park, you’ll need to decide how you want to get to and explore the park.
Most visitors drive their own vehicle into the park, and then explore either by car or with the fare-free park shuttle, if it’s operating. That said, rather than driving, you could also take a different (paid) shuttle into the park, depending on when you’re visiting.
By Car
If you’re driving, you’ll enter Sequoia via the Ash Mountain Entrance, which borders the town of Three Rivers.
From the entrance, it’s about a 45-minute drive on a windy road up the mountain before you enter the Giant Forest. This is where you’ll find the most famous spots in the park, like General Sherman, Moro Rock, Tunnel Log, the Congress Trail, and the Big Trees Trail.
In the park, there are parking lots and street parking available, so you can drive to each spot you want to explore. However, if the fare-free park shuttle is running during your trip, I highly recommend taking advantage of it, which leads me to the next point…
By Shuttle (Visalia Shuttle and the Fare-Free Park Shuttle)
For getting into the park, if you don’t want to drive, consider taking the Visalia Sequoia Shuttle. It operates in the summer season (typically from Memorial Day weekend through Labor Day weekend), with shuttles running daily.
This shuttle departs from stops in Visalia, Lemon Cove, and Three Rivers, and drops passengers off at the Giant Forest Museum in the park. You’ll want to buy your tickets in advance to reserve your seat.
Once you’re in the park (whether by driving yourself or taking the Visalia Shuttle), you can explore with the fare-free park shuttle. The Sequoia shuttle runs from the late spring through the summer, and on some holidays.
This shuttle is super convenient, especially when the park is busy. There are stops near almost all of the must-see spots in Sequoia National Park. The one major exception is Crystal Cave, which you do need to drive yourself to.
This means that, if you’re driving, you can park once and then take the shuttles to nearly every stop on your itinerary. My last visit was over Labor Day weekend, and it was busy…not having to battle for parking spots at each stop was a game changer!
If you take the Visalia Shuttle into the park, this means that you can easily see the best of Sequoia (think General Sherman, the Congress Trail, Tokopah Falls, Moro Rock, and more) without a car.
Just keep in mind that taking the Visalia Shuttle isn’t the best choice for you if touring Crystal Cave is high on your list, as you do need a car to get to the cave.
Important note: if the in-park shuttles are running during your visit, Crescent Meadow Road (which leads to Moro Rock, Tunnel Log, and a couple other popular spots) will be closed to all vehicles except for shuttles during the day. This means that your only option to get to that area of the park will be to take the shuttle or to hike over.
Exploring Sequoia with a Tour
If you want more of a guided experience, consider booking a tour of the park. You can explore with a tour on one day, and visit other spots on your own on the second day!
There are tours that start in the park (so you’ll just be responsible for driving or taking the shuttle into the park), as well as options that depart from nearby towns. Here are two highly-rated Sequoia tours worth considering for your trip:
- Private Family-Owned Sequoia Tour: This company is operated by former National Park Rangers, so you’ll be in good hands! The private tour is around 4 hours long, and can start at the Wuksachi Lodge in Sequoia (an especially great choice if you’ll be staying in the park!).
- Small-Group Sequoia Tour: This tour has a maximum group size of 10, so you’ll still enjoy a more intimate experience. It departs from the town of Three Rivers, so you don’t have to deal with any transportation within the park!
Where to Stay When Visiting Sequoia
For a Sequoia trip, I recommend either staying in the park or just outside of the park in the town of Three Rivers.
Staying in Sequoia is super convenient, especially for a two day visit. You won’t have to deal with that extra 45-minute drive from the entrance up to the Giant Forest both days!
That said, options within the park are limited: you can either go camping (note that most campgrounds require advanced reservations) or stay at the Wuksachi Lodge.
The Wuksachi Lodge is very centrally located, as it’s only about a 10-minute drive from General Sherman. You’ll need to book your reservation in advance. They book up quickly, especially in the summer and on holiday weekends!
I’ve personally stayed in Three Rivers when visiting. It’s the most convenient option if you aren’t staying in the park, since it is right outside the entrance.
There are a lot of accommodations to choose from, and you have the benefit of being near a good selection of restaurants, as well as grocery stores.
One cool stay in Three Rivers worth considering is AutoCamp Sequoia. They offer unique Airstreams, as well as luxury tents and thoughtfully designed cabins and bunk rooms. The property also has a pool and dining options, as well as access to the Kaweah River.
Alternatively, take a look at vacation home rentals in Three Rivers.
How to Spend 2 Days in Sequoia National Park (A Complete Itinerary)
Here is the exact itinerary that I followed during my most recent Sequoia National Park trip. It includes all of the most popular spots in the park, making it an ideal choice for first-time visitors!
I’ve included the Crystal Cave tour for day two, which I highly recommend doing. If you’re unable to tour or otherwise don’t have an interest in the experience, I’ve included a few alternative ideas on things to do instead at the end of this guide.
Note: for each stop in this itinerary, I’ve made notes for how to navigate the park, depending on if you’re driving or taking the park shuttle.
Day 1: The Best of the Giant Forest
On day one, you’ll hike underneath the massive sequoias and see the most iconic spots in the park. Check out General Sherman, Tunnel Log, the Congress Trail, Moro Rock, and more!
See the Sequoia Sign, Enter the Giant Forest, & Drive Through the Four Guardsmen
Right after entering through the Ash Mountain Entrance, you’ll pass by the beautiful carved wood Sequoia National Park Sign. It’s visible from the road, but there are parking spots if you want to stop and take a photo!
From there, you’ll make the 45-minute drive up the mountain along Generals Highway before entering the Giant Forest.
As you enter, you’ll drive through the Four Guardsmen…some of the first giant sequoias that you’ll see in the park! Three of the sequoias flank either side of the road, and the fourth tree intersects the two lanes.
There’s no need to stop here, but it’s worth being aware of where they are so that you can keep an eye out as you drive through.
Check Out the General Sherman Tree & Hike the Congress Trail
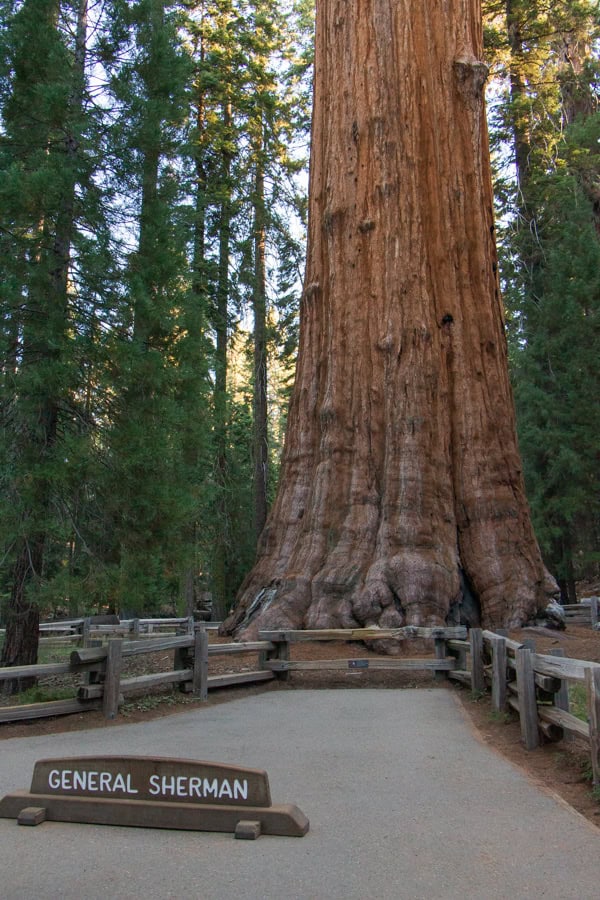
Start off your first day in the park with a visit to General Sherman. You’ll park at the General Sherman Tree Parking Lot, and walk the half mile paved path down to the tree.
General Sherman stands at over 270 feet tall, and is the world’s largest tree by volume.
This is one of the most famous sights in the park, so it can get rather busy (particularly in the summer and on weekends). That’s why I recommend checking it out first thing. If you get an earlier start, you can see it before the crowds!
Once you’ve seen General Sherman, you can hike the Congress Trail (one of my favorite hikes in the park!). The easy paved loop trail is just over two miles starting from General Sherman.
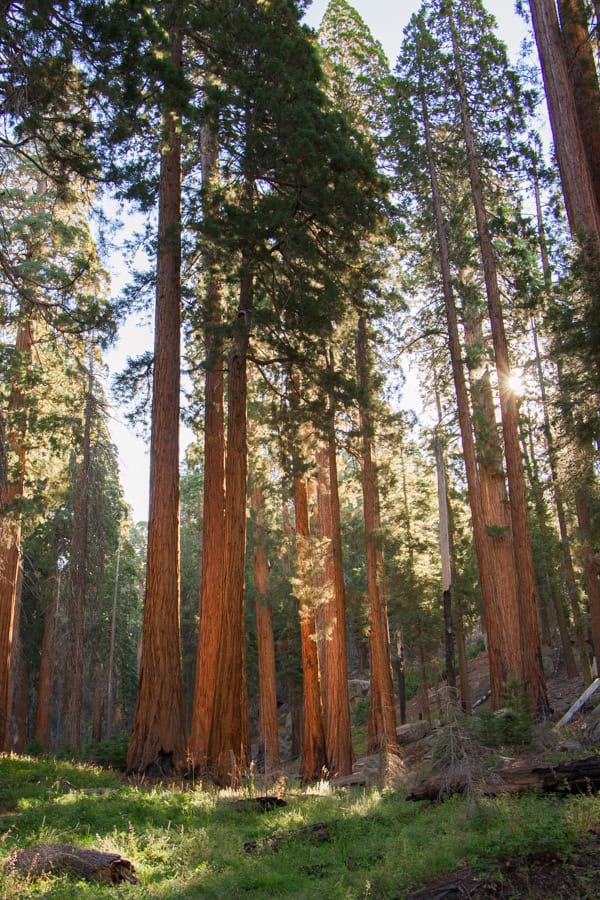
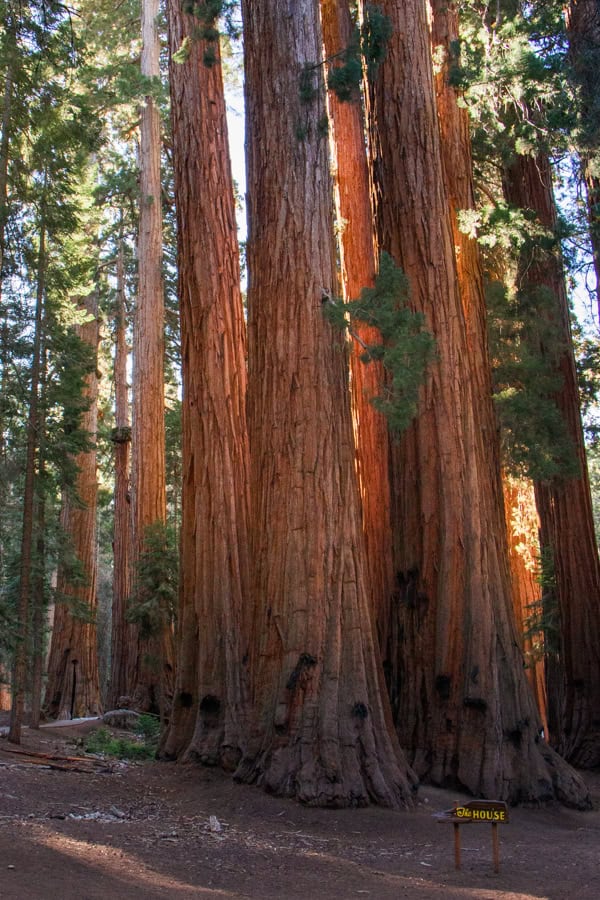
On this hike, you’ll see groups of mature sequoia trees, including the famous House and Senate tree groups. These groups are beautiful, especially when sun beams are shining through! You’ll also spot other huge sequoias, like Chief Sequoyah and McKinley Tree.
Shuttle Info: if you’re taking the park shuttle to the next stop, head to the General Sherman Tree shuttle stop (a short walk from General Sherman). You can take the Route 1 Shuttle (Green) to the Giant Forest Museum shuttle stop.
Hike the Big Trees Trail & Stop in the Giant Forest Museum
After your first hike, you’ll drive or take the shuttle to the Giant Forest Museum. If you are driving yourself, there is a parking lot across the street from the museum.
From here, you can walk over to the Big Trees trailhead. It’s about a quarter mile from the museum, and you can either walk along Generals Highway or on the Alta Trail to get there.
The Big Trees Trail is a short and easy (but very beautiful!) hike. It’s around three-quarters of a mile long, and it is paved. You’ll get a chance to see both young and mature sequoia trees.
What’s great about this trail is that there are educational signs along the paved path. You’ll learn more about the growth of sequoia trees and the types of environments that they thrive in.
After your hike, if you’d like, you can stop inside the Giant Forest Museum. It’s a fun quick stop if you want to learn more about the history of the park and the life cycles of these trees! There’s also a small gift shop inside the museum if you’d like to pick up a souvenir.
Shuttle Info: for the next stop, from the Giant Forest Museum, you’ll take the Route 2 Shuttle (Gray) to Crescent Meadow.
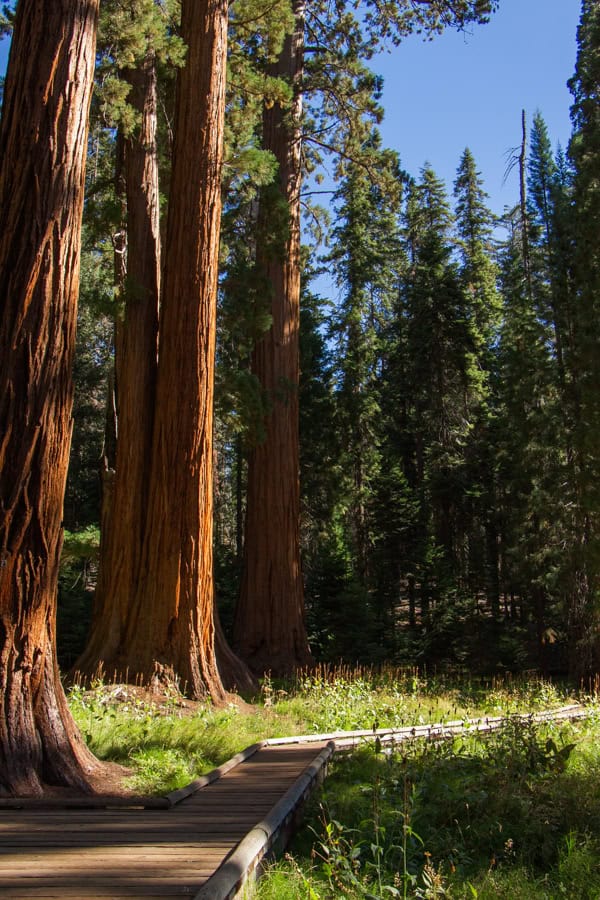
Hike the Crescent Meadow Loop & Stop for Lunch
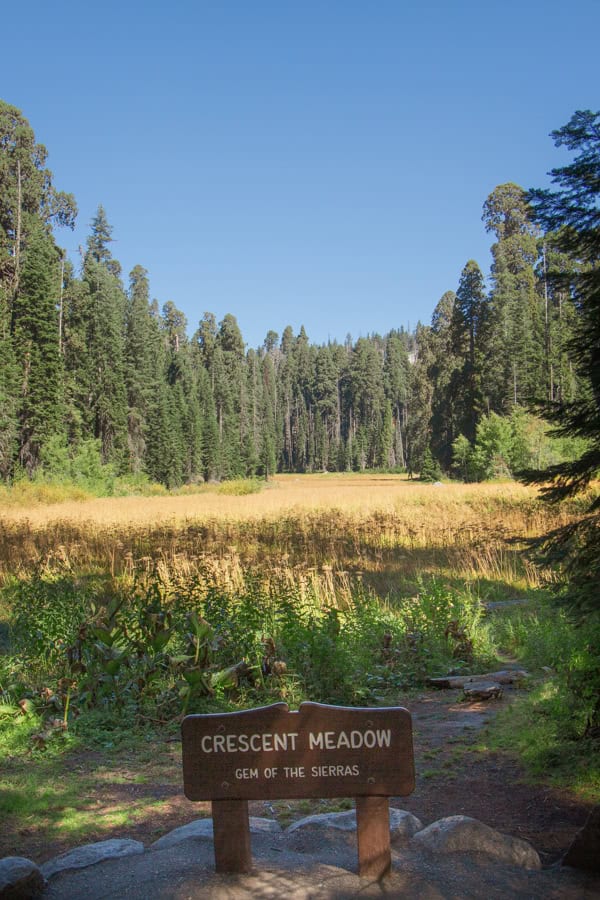
Next up is Crescent Meadow. Drivers will find a small parking lot right by the trailhead.
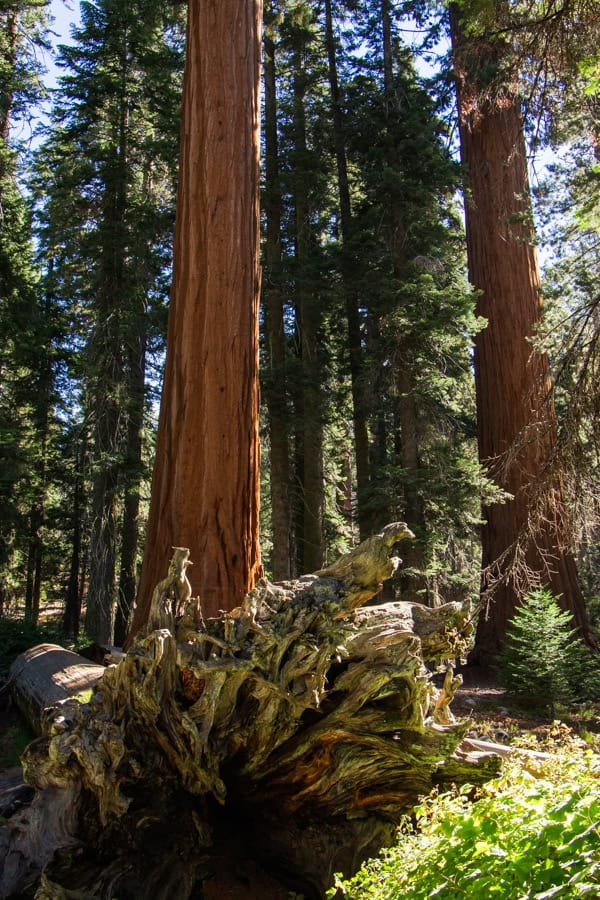
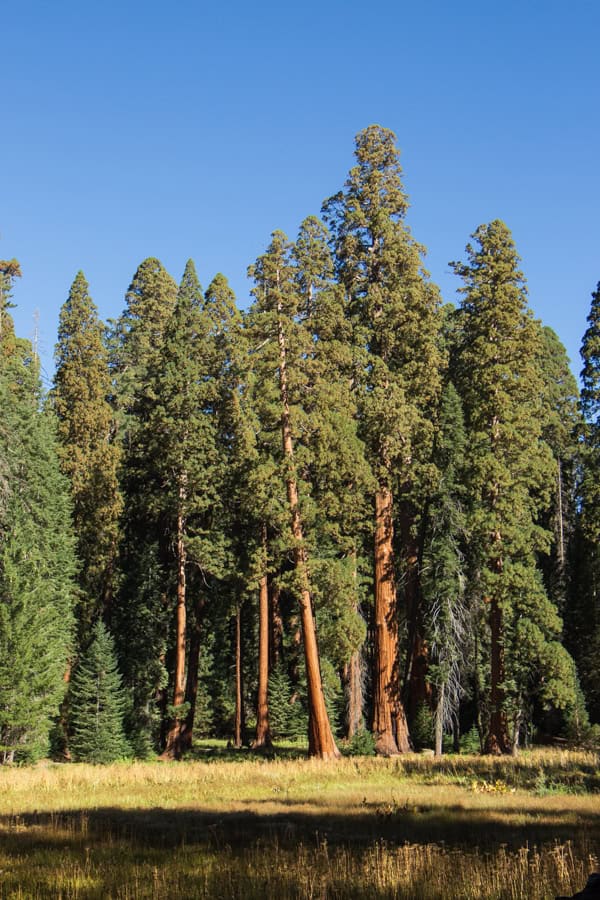
This is one of the largest meadows in the park, and there’s an easy 1.3-mile trail that loops around it. It’s a very pretty spot year-round, but is especially beautiful from June through August. This is when the wildflowers (including purple lupines) are in bloom! I was visiting just after wildflower season, but still really enjoyed the hike.
It’s also very common to see bears in the meadow. If you spot a bear, be sure to keep your distance. I recommend reading up on bear safety tips before you go!
If you have the time and want to add on a bit more to this trail, you can also follow the short off-shoot that leads to Tharp’s Log Cabin. This mid-1800s cabin was built on a sequoia tree.
Either before or after your hike, you can take a break for lunch at the picnic area right by the trailhead. It overlooks the meadow, and there are plenty of picnic tables.
Shuttle Info: for the next stop, you can get back on the Route 2 Shuttle. The shuttle map doesn’t include Tunnel Log as a stop, although during my last visit, the shuttles were stopping there. If the shuttle doesn’t make a stop at Tunnel Log, you can take it to Moro Rock and walk over (it’s about half a mile down the road).
See Tunnel Log
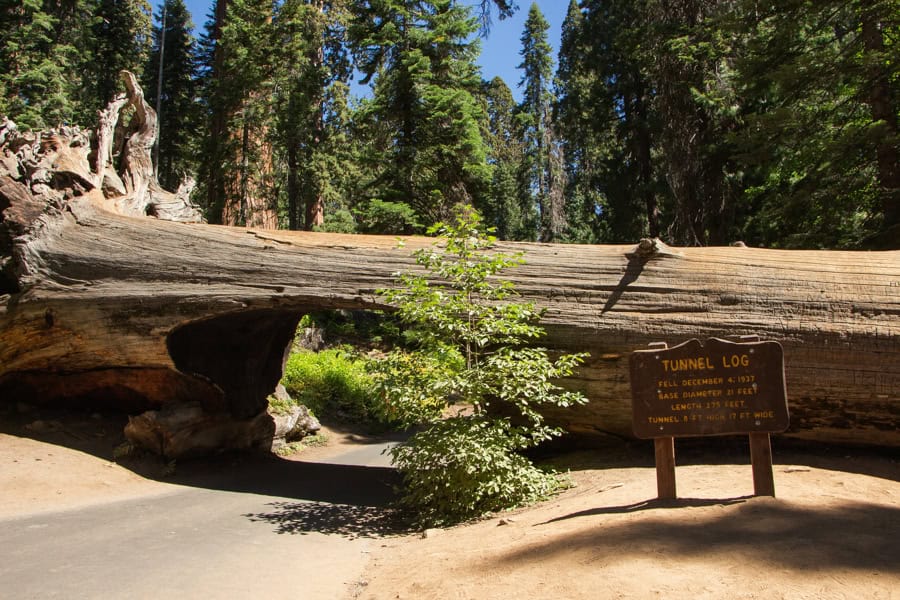
Next up is the famous Tunnel Log! Drivers can make the quick drive over from Crescent Meadow, and can even drive through the log (so long as your vehicle is under eight feet tall). There isn’t a parking lot, but you can street park.
Tunnel Log is easily one of the most famous photo spots in Sequoia. This giant sequoia fell onto the road in the late 1930s, and park officials carved a tunnel through the log so that cars could still pass through.
While you won’t be able to drive through the log when the shuttles are running (since Crescent Meadow Road will be closed to other vehicles), you can still walk through!
Stop at the Parker Group & the Buttress Tree
After checking out Tunnel Log, you can walk down the street to see two other cool points of interest.
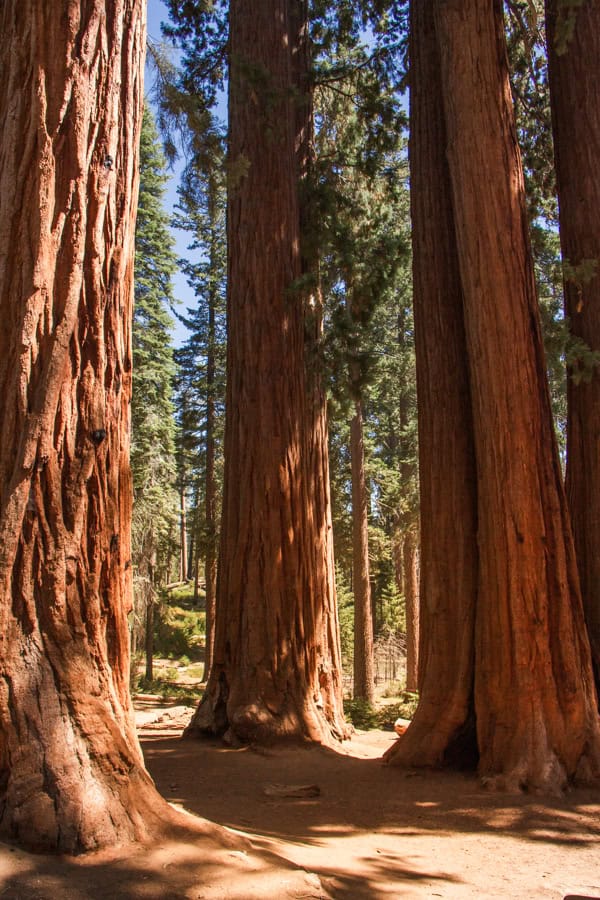
The first is the Parker Group Sequoias. This group of trees was named after the family of Captain James Parker, who was the acting superintendent of the park in the late 1800s.
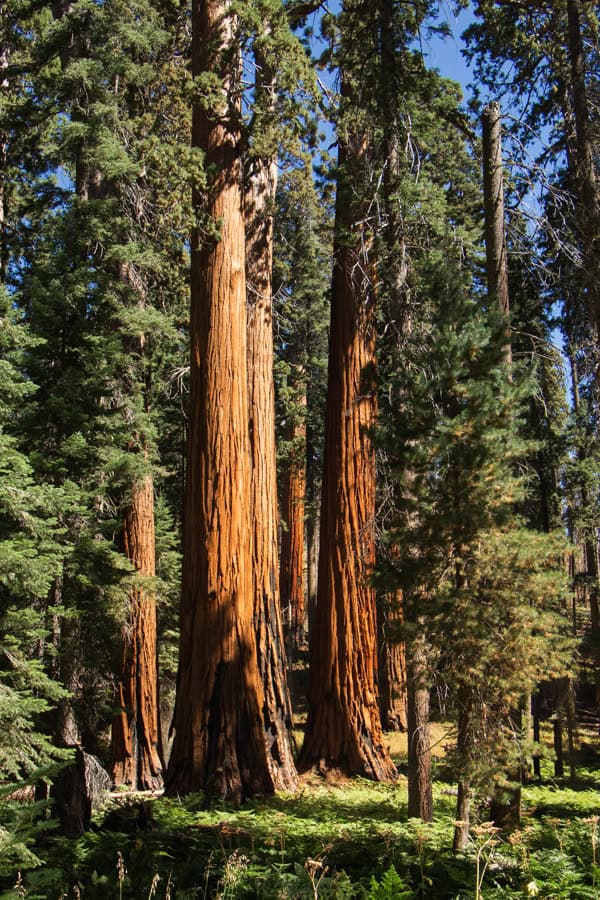
These trees are especially beautiful when the sun is shining through…the bark glows a bright red-orange color! One of the trees is also hollowed out, so you can walk inside the trunk of a sequoia.
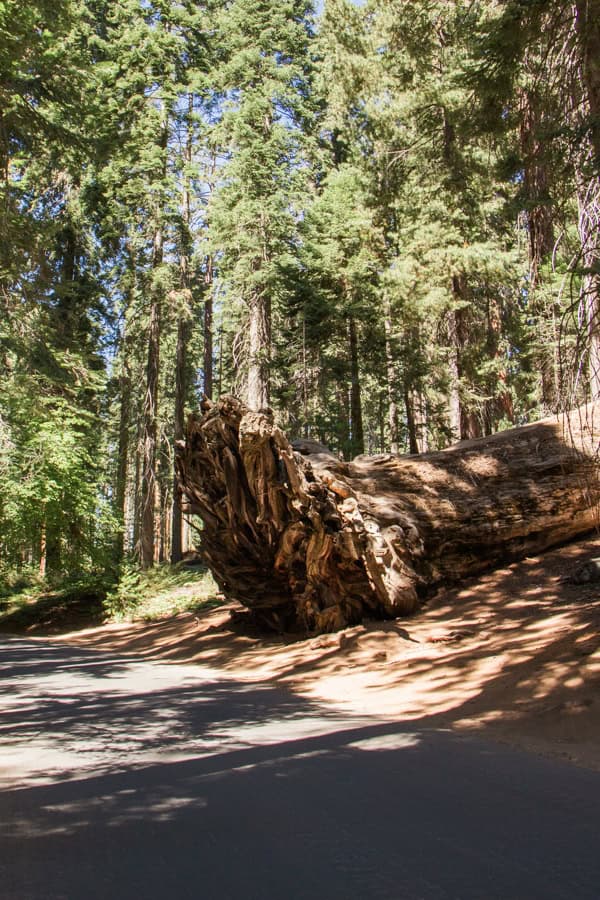
Just a few feet further down the road is the Buttress Tree. The giant sequoia fell in 1959, exposing the roots. It’s a fun photo spot!
Take in the View from Moro Rock (with an Optional Hanging Rock Hike)
The final spot on the itinerary for the day is Moro Rock. Drivers can park at the small lot by the trailhead, or along the road. Just know that the hike can get busy (especially as it gets closer to sunset), so you might have to park a bit further down the street.
Otherwise, if you’ve been taking the shuttle, you can walk the half mile over from the Buttress Tree and Parker Group.
The Moro Rock Trail is very different than the other trails from earlier in the day. It involves a climb up approximately 350 steps that take you to the very top of the massive granite dome.
While the trail is short (it’s only about half a mile long out-and-back), it is a workout with all of the steps!
At the top, you’ll get beautiful views of the Sierra Nevada Mountains and the San Joaquin Valley. I’ve included it at the very end of the itinerary so that you can enjoy the views in the golden hour light. That said, even if you’re there a couple hours before sunset, the views are amazing!
If you’d like a little more, you can also do the quick Hanging Rock Trail hike before or after doing Moro Rock. It’s just 0.3 miles out-and-back, and it’s right down the road from Moro Rock.
The trail ends at a large piece of granite rock that is perched on the surface of the granite dome. That said, what I love about this trail is that you get a nice view of Moro Rock from the side. You can even see the hikers making their way up to the top of the dome!
Shuttle Info: to make your way back to your car, you’ll need to take two shuttles. Take the Route 2 Shuttle from Moro Rock to the Giant Forest Museum stop. Then, take the Route 4 Shuttle from the Giant Forest Museum to the General Sherman Parking Lot.
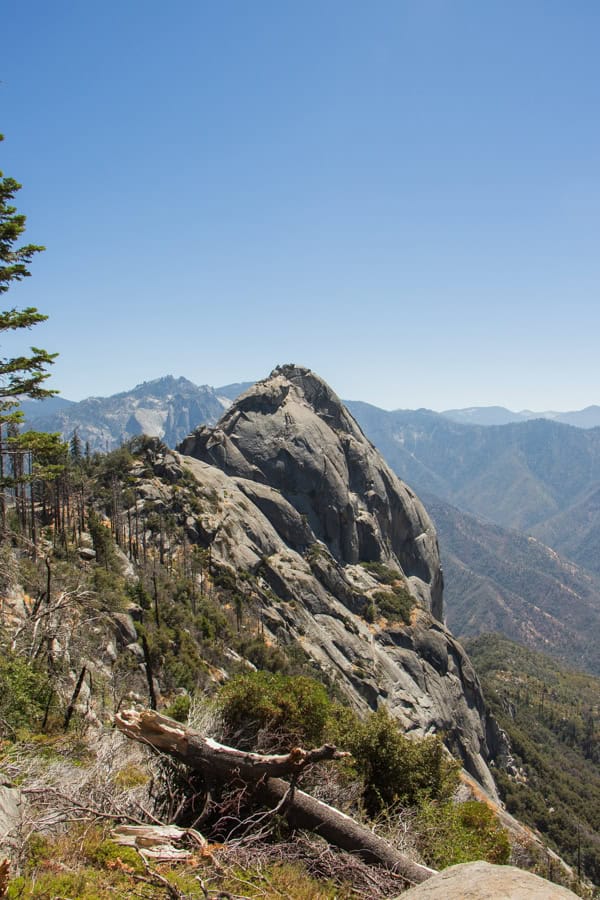
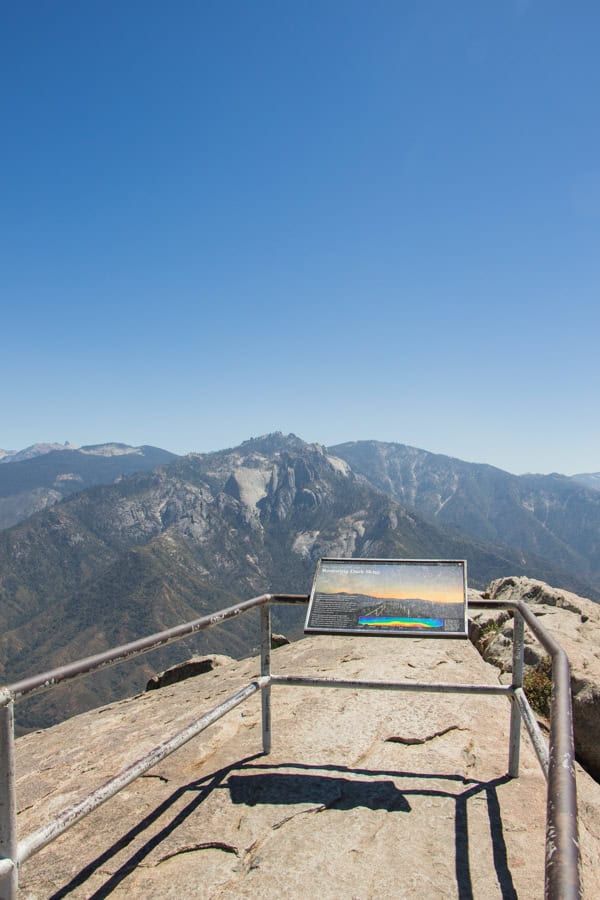
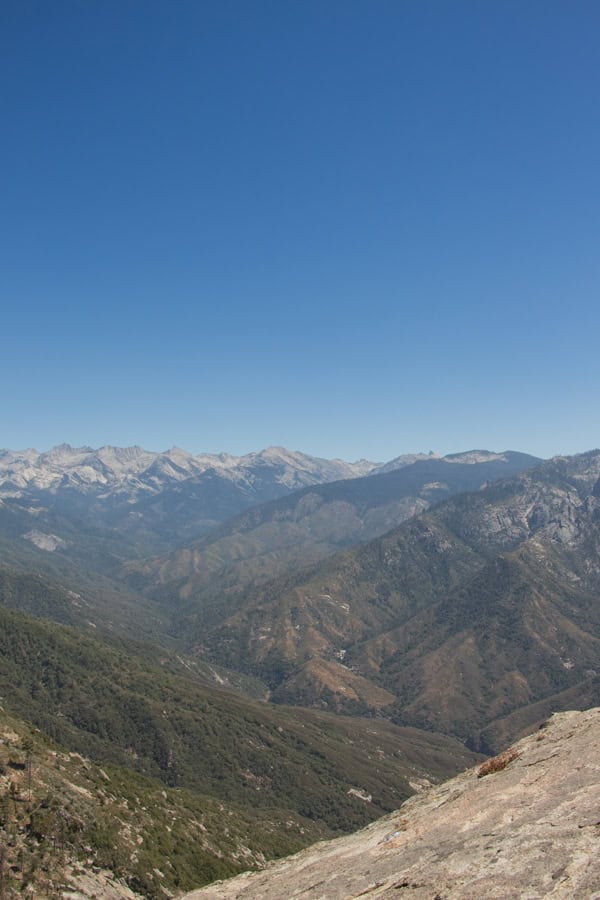
Moro Rock from the Hanging Rock Trail | View from Moro Rock
Day 2: Tokopah Falls & Crystal Cave
This day looks less packed than day one, but that’s because the two main excursions are longer! You’ll get a chance to hike Tokopah Falls and tour the amazing Crystal Cave.
You can easily swap these two activities in the schedule, depending on when there is availability for tours at Crystal Cave.
Shuttle note: even if the shuttle is running, you won’t be taking it if you follow this itinerary, as it doesn’t go to Crystal Cave. Drive and park at Tokopah Falls, and then drive over to Crystal Cave.
If you want to fit another hike in on this day, I recommend hiking the short Hazelwood Nature Trail either before Tokopah Falls (a great option if you’re getting an early start to the day), or once you’re done with the Crystal Cave tour. You’ll find more info about this trail in the next section!
Hike the Tokopah Falls Trail
Start your day off with a hike on the beautiful Tokopah Falls Trail. There is parking available right at Lodgepole Campground, as well as the Lodgepole Visitor Center & Market right down the road.
I absolutely love this trail, as it’s very different from the classic Sequoia NP hikes. You hike along the Kaweah River, underneath firs and pines…you won’t see sequoias here! You end at the 1200-foot Tokopah Falls, and get beautiful views of the valley along the way.
Keep in mind that, if you are visiting from the mid-summer through the fall, there’s a good chance there will be little to no water at the waterfall. I still recommend doing this hike, as it’s stunning (and I think the rock surface looks really cool, even without water!).
This trail is known for being an excellent spot to see wildlife. I saw a bear along the trail, as well as some deer.
At some point in your hike, I recommend walking down to the river and dipping your feet in the water. Of course, be careful and aware of your surroundings, and avoid stronger currents.
For reference, it took me right around three hours to complete this trail. This time included photo stops and taking a quick (10 to 15 minute) break to dip my feet in the river, so you might complete it faster!
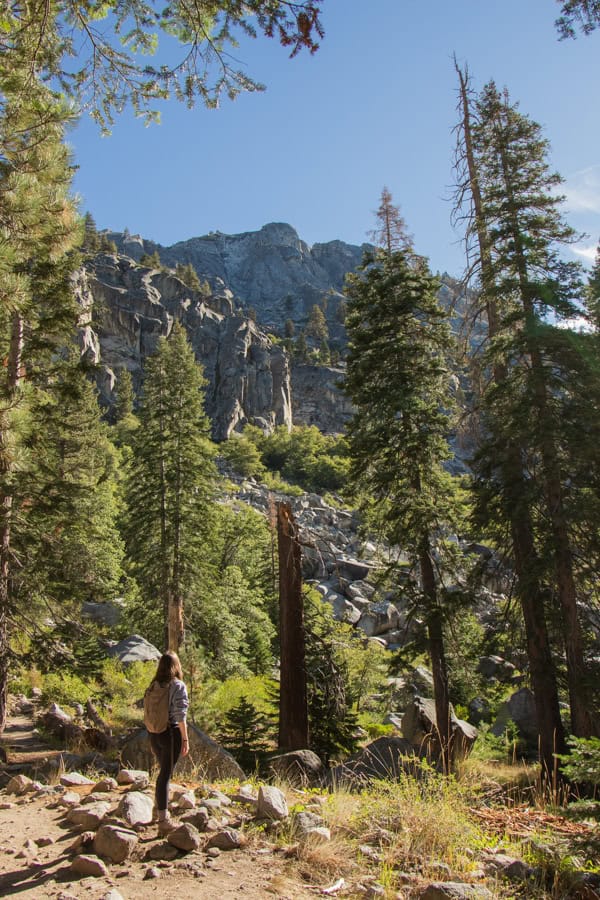
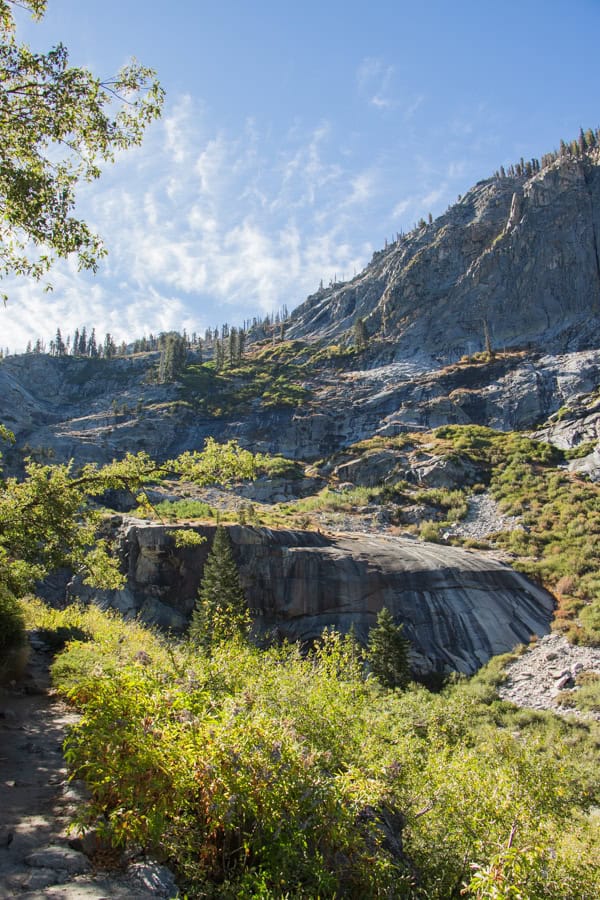
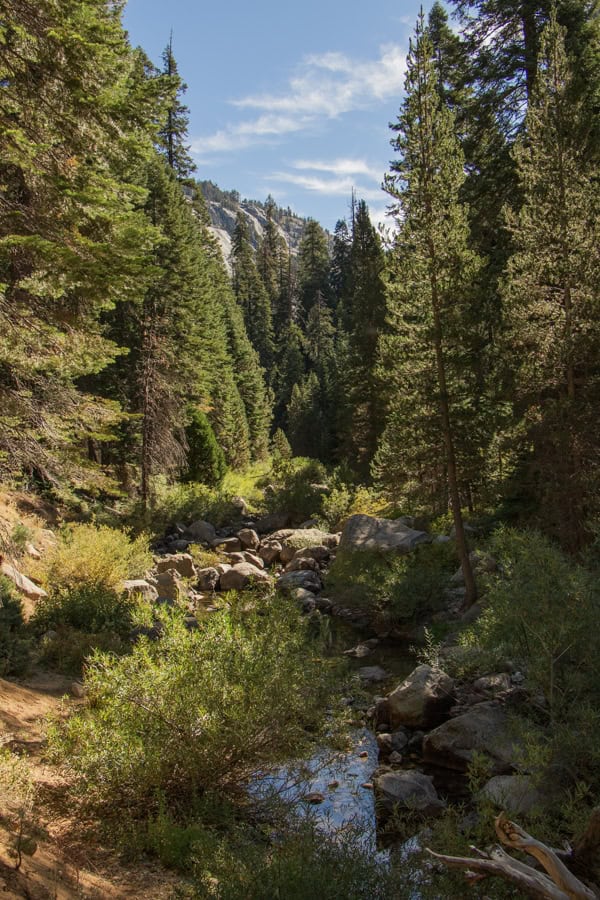
Stop for Lunch at Lodgepole Market & Grill
After your hike, it’s time for a lunch break. If you don’t want to pack lunch for the day, you can eat at the Lodgepole Market & Grill, which is right down the road from the Tokopah Falls trailhead.
At the grill, you can order sandwiches, burgers, and wraps. Let’s be honest: the food isn’t life changing, but it’s decent and will fuel you for the rest of the day!
If you just need a quick bite, the market is also well-stocked with drinks and snacks like trail mix, energy bars, chips, candy, and more.
There is seating available both inside and outdoors. Note that the market and grill is open seasonally, from May to October.
Tour Crystal Cave
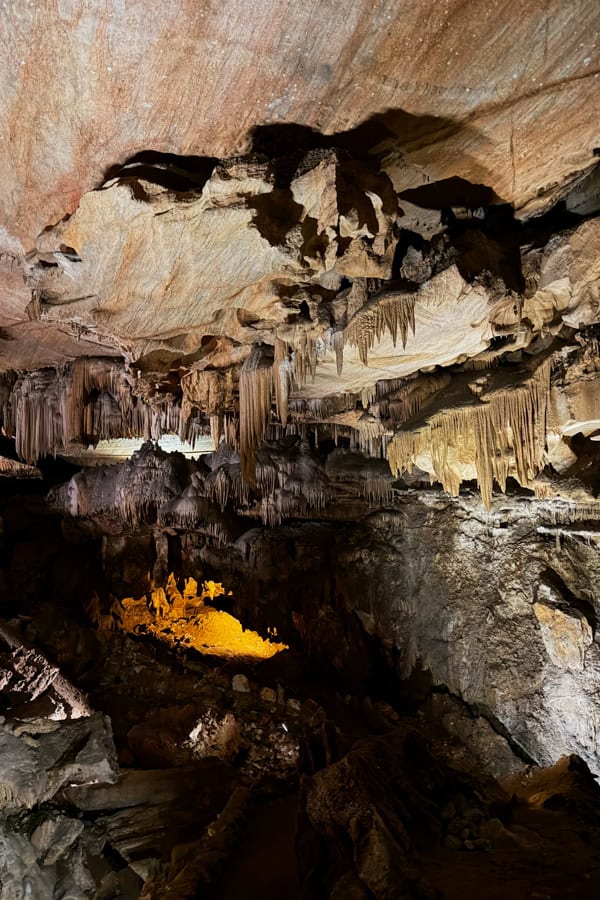
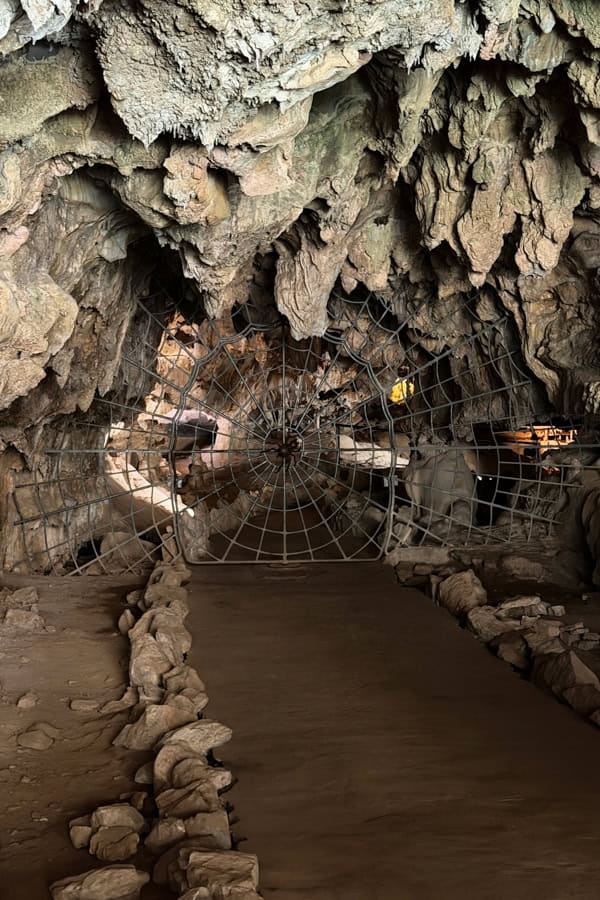
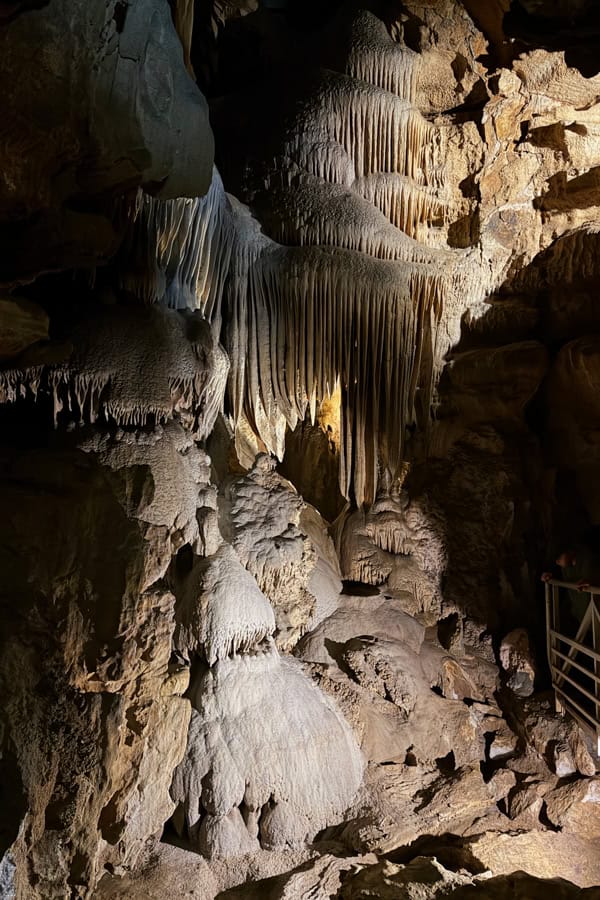
Next up is the incredible Crystal Cave! While there are about 240 caves in the park, Crystal Cave is the only one that is accessible to the public. Tours are offered through Sequoia Parks Conservancy, a non-profit partner of Sequoia and Kings Canyon National Parks.
During the 50-minute tour of the marble cavern, you’ll learn about how the cave was formed while going through different “rooms”, checking out seeing stalagmites, stalactites, and other unique cave features.
To access the cave, you’ll need to do a 15 to 20 minute hike down the hill. Be prepared, it’s definitely a bit of a climb coming back up!
It’s important that you book your Crystal Cave tour tickets in advance. This is especially true if you are visiting during peak travel season. I booked my tickets (for Labor Day weekend) about a month in advance, and there were already some time slots that were sold out.
Now for some travel logistics…it’s essential that you leave Lodgepole early enough so that you can get to the cave at least 15 minutes before your tour start time.
The cave is remote, and requires a drive down a 6.5-mile road that is windy and bumpy. For reference, it took me around 35 minutes to drive down the road. It might be longer, depending on your pace or if you’re behind a slower driver!
Google Maps says the drive from Lodgepole to Crystal Cave is 40 minutes, but I recommend giving yourself an extra 15 to 20 minute cushion to be safe.
Note: tours are done for the 2026 season, as they had to close early for road construction. Typically, tours are offered from the late spring through the late fall.
Take in the Views from Generals Highway
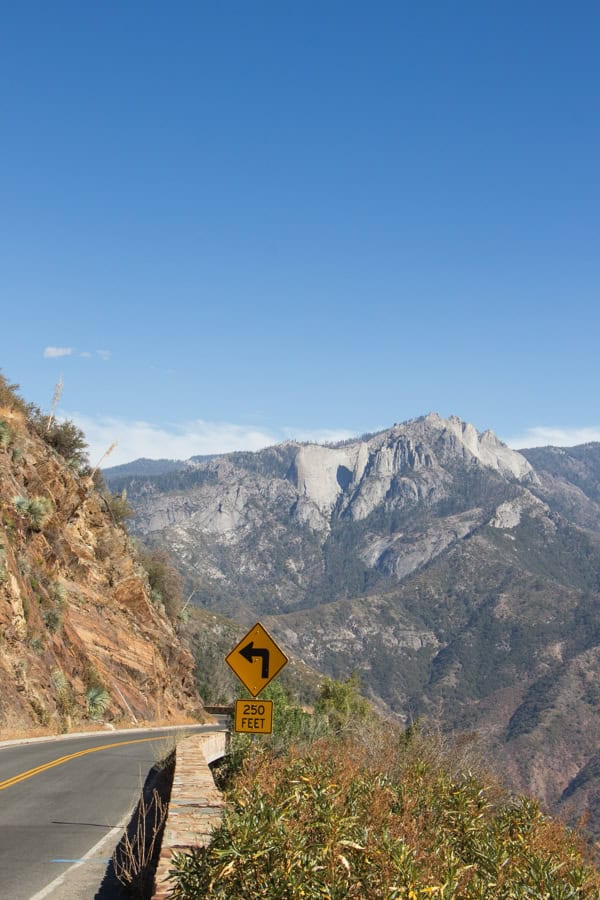
As you end your time in Sequoia and drive back down to Three Rivers, I recommend making a stop at one (or more) of the viewpoints along Generals Highway to take in the view.
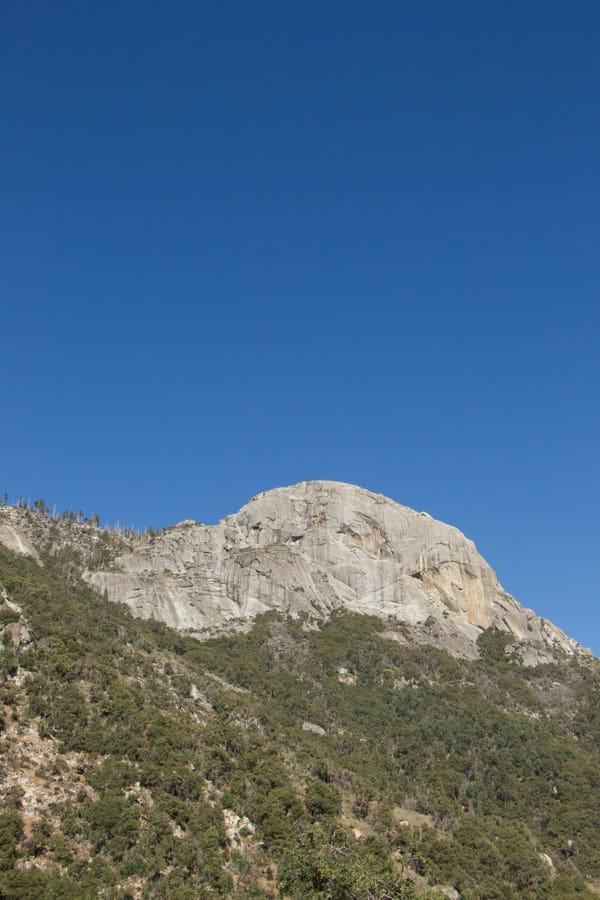
There are a few pullouts along the road, but one worth highlighting is Amphitheater Point View. This stop offers sweeping views of the valley, and you’ll see Moro Rock above you! I also like this spot (simply labelled “Vista Point” on Google Maps!), which is a bit further up the road from Amphitheater Point.
Additional Things to Do in Sequoia with More Time
Both days are pretty full, but it’s definitely possible that you’ll have more time to explore if you get out early (and have enough energy!).
If you aren’t doing the Crystal Cave tour, you’ll also need to decide what you’ll want to do in its place.
The last three spots on this list (Tunnel Rock, Hospital Rock, and the Marble Falls Trail) are all in the foothills of Sequoia, right by the Ash Mountain Entrance. While Marble Falls is a longer hike, the others spots are easy, quicker stops to add to the end of either day if you have some extra time!
With all that said, here are a few additional activities that you can add to your itinerary:
- Take in the View from Beetle Rock: This is a great place to watch the sunset, and can be an easier alternative to Moro Rock! Located right across the street from the Giant Forest Museum (off the parking lot), Beetle Rock has a nice clearing where you can take in the views of the valley. Unlike Moro Rock, it doesn’t require a climb up any stairs!
- Hike the Hazelwood Nature Trail (0.7 Miles): This trail is a nice option if you want to fit in even more hiking in the Giant Forest. Stroll underneath the giant sequoias and by a meadow, and read the educational signs along the path. The trailhead for this short and sweet hike is just down the road from the Big Trees trailhead.
- See Tunnel Rock: Tunnel Rock is located right off Generals Highway, and as you can guess by the name, the rock formation creates a short tunnel. This “tunnel” used to go over Generals Highway, before the road was rerouted. While you can’t drive under it any more, you can walk underneath! You’ll see Tunnel Rock from the road as you drive by, but there are parking spots right by it if you want to get out and take a closer look.
- See Hospital Rock: Also located right off Generals Highway, Hospital Rock features pictographs drawn by Native Americans hundreds of years ago. If you decide to visit, be respectful and do not touch the rocks.
- Hike the Marble Falls Trail (7 Miles): If you want to fit in a longer hike, this is an excellent option. The moderately rated hike leads hikers to the cascading Marble Falls at the end. The trail is exposed, so it’s best to go out early on a warmer day!
For more on planning the ultimate Sequoia trip, read these guides:
- Essential Tips for Visiting Sequoia National Park
- The Best Things to do in Sequoia National Park
- How to Spend One Day in Sequoia National Park (Great for a First Visit!)
Want to explore more national parks and outdoor adventures in California? Take a look at these posts:
- The Perfect Weekend Trip to Joshua Tree National Park
- How to Plan the Perfect Channel Islands Day Trip (Santa Cruz Island)
- The Perfect Lake Tahoe Summer Itinerary: A Complete 2-Day Guide
- The Top Things to do in Red Rock Canyon State Park, California
- Antelope Valley Poppy Reserve: The Ultimate Visitor’s Guide