10 Best Hikes in Joshua Tree (Trails for All Skill Levels!)
Hiking at Joshua Tree is truly incredible. The California national park has tons of legendary trails that allow you to explore the magical desert landscape. As someone who has spent plenty of time exploring the park, I’ve been able to hike my way through many of the amazing trails. If you’re planning a visit, I’m breaking down the best hikes in Joshua Tree worth adding to your itinerary – especially if you’re visiting the park for the first time!
The Best Hikes in Joshua Tree National Park
What makes Joshua Tree National Park such a great park to explore is the fact that there are so many easy trails. This means hikers of all skill levels can see some of the most popular sights in the park. Not to mention, many of them are under two miles, which means it’s easy to pack in a lot – even if you just have one day in Joshua Tree!
More of a hard-core hiker? Don’t worry – the park has tons of more intense trails, as well. I’ve included a range of hikes (both in terms of length and difficulty) in this guide.
I’ve organized this Joshua Tree hiking guide to start on the north end of the park, and then move south. I think this makes it a bit easier for itinerary planning! At the top of each trail, I’ve made note of the length and difficulty to help you find the trails that best fit your needs.
If you’re planning on spending a couple days in the park, be sure to take a look at my guide on how to spend a weekend in Joshua Tree! I’ve included the must-hike trails, as well as other cool spots worth checking out during your trip. Be sure to also take a look at my Joshua Tree tips post, where I go over the key things you need to know before visiting.
1. Fortynine Palms Oasis Trail
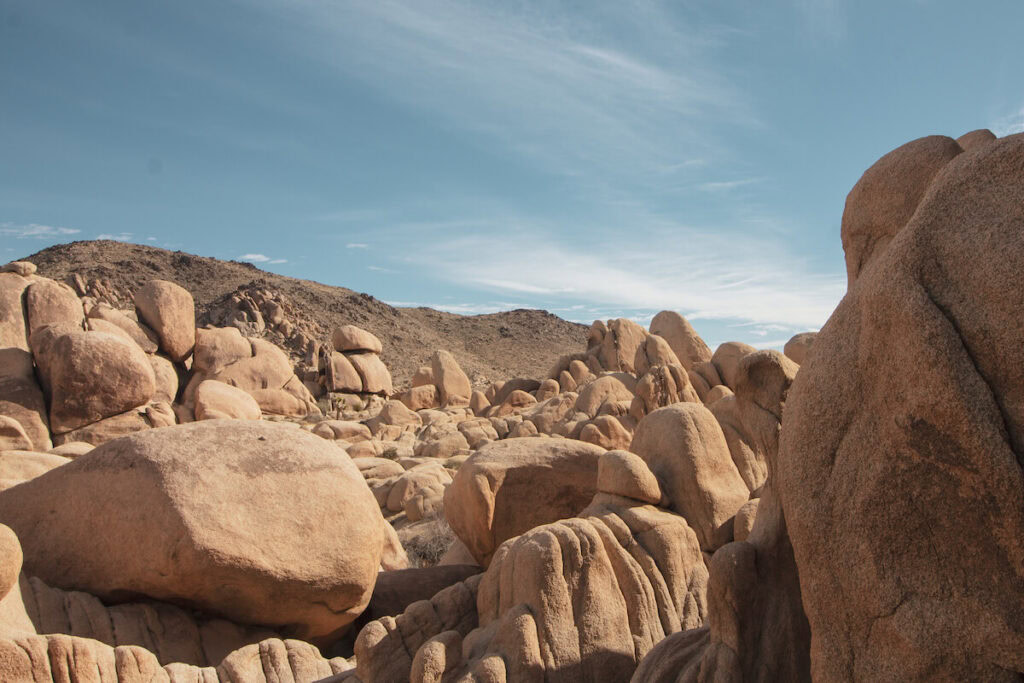
First up is Fortynine Palms Oasis Trail, which is located on the very northern edge of the park (less than two miles south of 29 Palms Highway) towards the east side. It’s set away from the most popular trails within the park, making it a great option for anyone looking to try a more off the beaten path hike. There’s also no ranger station here, which means you don’t need to pay the park entrance fee to park and hike.
This out-and-back trail takes hikers out to a beautiful palm tree oasis. Keep in mind that the oasis itself is closed to hikers so as to not disturb the water supply (which is needed by the wildlife), but you can still see the oasis. As you make your way to the oasis, you’ll hike through a rocky terrain, traveling down into and back up out of some canyons along the way.
There is a decent-sized parking lot at the trailhead. There is also a bathroom right off the lot.
Note: this trail (and the parking lot) is closed in the summer to give the bighorn sheep access to water at the oasis. But trust me – you don’t want to be hiking in Joshua Tree in the summer anyway!
2. Boy Scout Trail
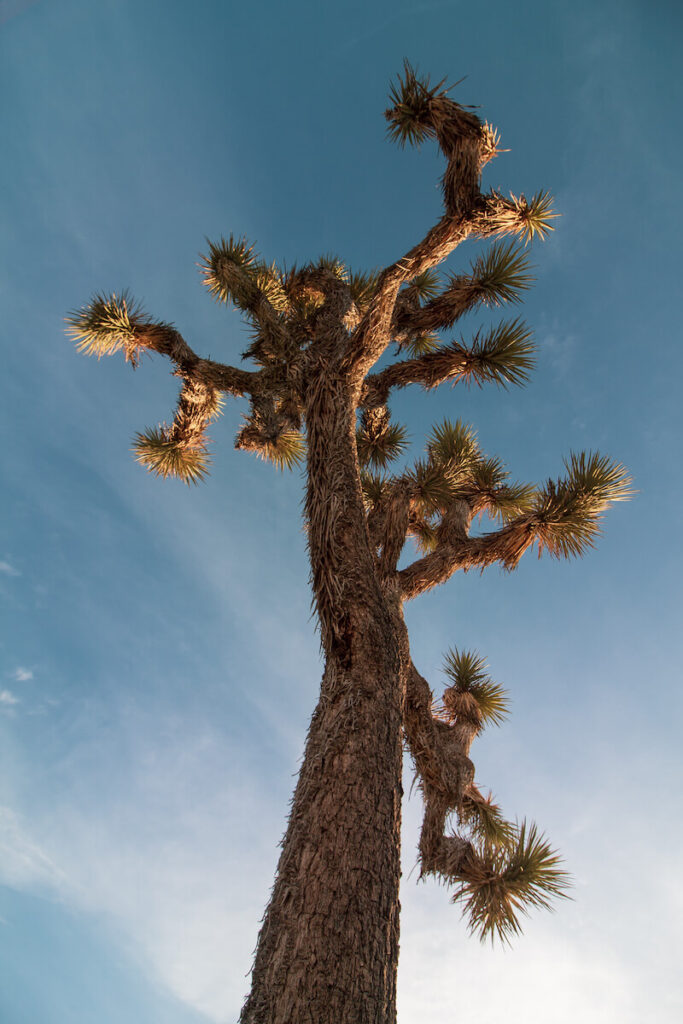
The Boy Scout Trail is one of the most popular Joshua Tree hikes for backpackers looking to camp in the park. This challenging trail has an incredibly varied landscape that’s well worth the effort. You’ll see the park’s famous giant rock formations, as well as plenty of joshua trees. Given the challenging nature, it’s best for more experienced hikers.
Backpackers planning on camping must camp at one of the designated campsites within the Boy Scout Trail Zone. A permit is required to camp in the area.
You can still hike the trail without a permit – you just won’t be able to camp within the Boy Scout Trail Zone. Many day hikers enjoy hiking the trail point-to-point (or just hiking a portion of the trail) to explore the area without needing to camp out!
There are two trailheads for the Boy Scout Trail. If you want to limit your time hiking uphill, it’s best to start at the Boy Scout Trailhead, and then end at the Indian Cove Boy Scout Trailhead. Some backpackers and day hikers leave one car at one trailhead and another at the other so that they can just hike point-to-point.
There is a good sized parking lot at the Boy Scout Trailhead, and there is also a restroom available. The Indian Cove Boy Scout Trailhead has a smaller lot, and doesn’t have a restroom.
3. Barker Dam Nature Trail
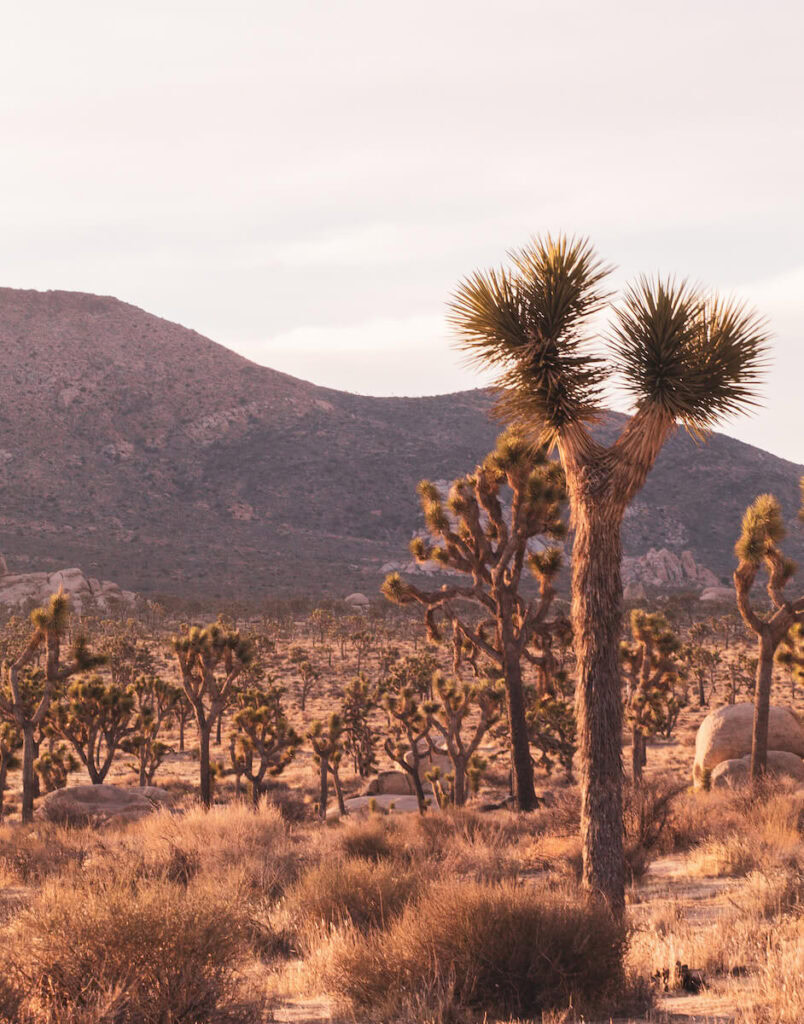
Let’s talk about one of the easier trails in the park: Barker Dam Nature Trail. As it says in the name, the main “attraction” on this hike is Barker Dam, which was built by cattlemen back in the early 20th century. Your chances of seeing the dam filled with water are fairly slim, but you might get lucky if visiting after a rainy season! This area is also known for being a hub for bighorn sheep, so keep your eyes out.
In addition to the dam, you’ll see a boulder painted with Native American petroglyphs. The boulder is pretty easy to miss, so be sure to keep your eyes peeled. It’s located about a mile into the hike (when going counterclockwise), off a short off-shoot of the main trail. There’s a (very small) sign pointing towards it. It’s also marked on the AllTrails map linked above.
There is a good-sized parking lot at the trailhead, and there is also a restroom. However, keep in mind that it’s a popular trail, and hikers doing the Wall Street Mill Trail also park at this lot. If you’re visiting during busy season, you may need to park at one of the turnouts on Barker Dam Road and walk up.
If you want to add some extra mileage while you’re here, you can also hike the Wall Street Mill Trail, which is 1.8 miles. The trailhead is located just to the right of the Barker Dam Trailhead. I personally like Barker Dam a bit better, but it’s still a cool trail with some unique sights. You’ll pass by a two-stamp gold ore crushing mill from the early 20th century, as well as an abandoned car, old house, and a windmill.
4. Hidden Valley Nature Trail
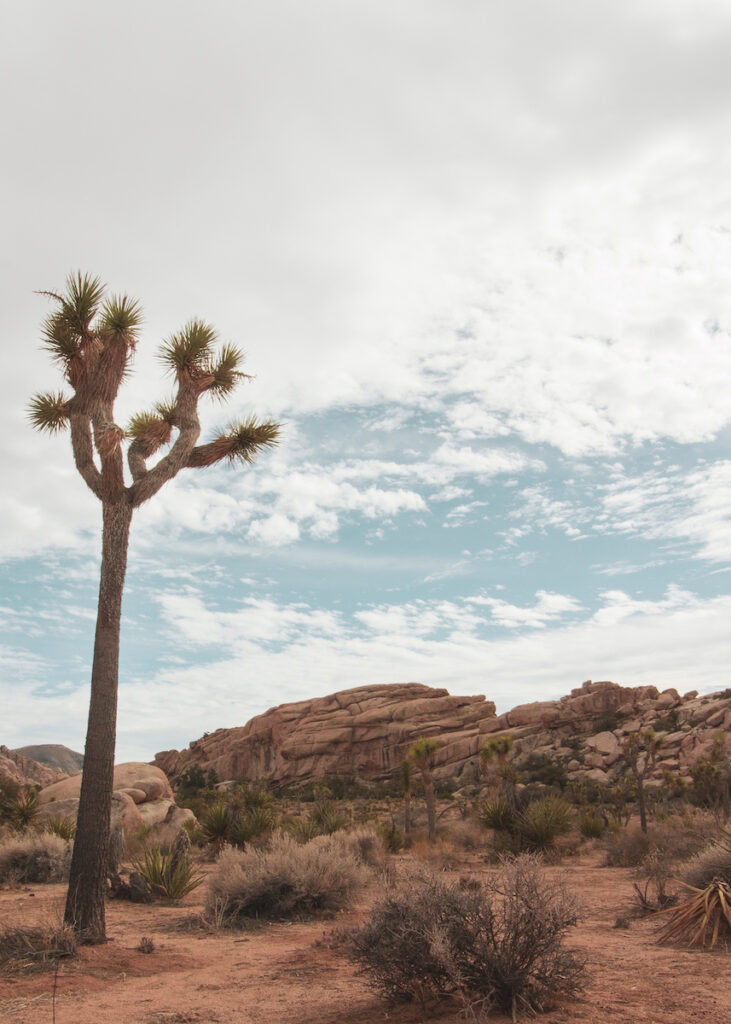
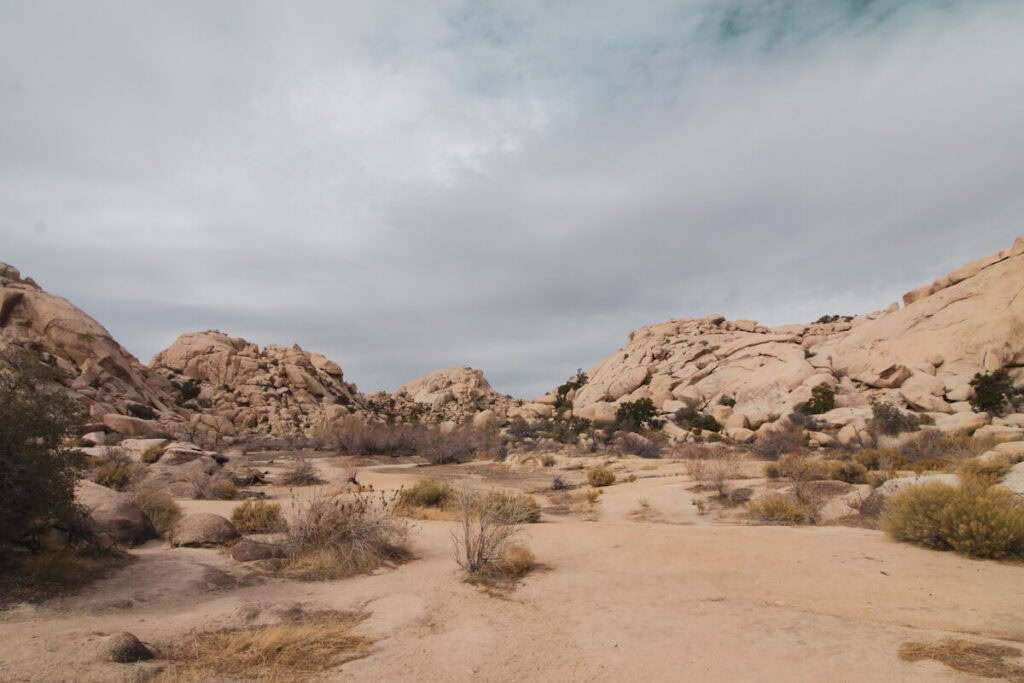
In my opinion, Hidden Valley Nature Trail is hands down one of the best easy hikes in Joshua Tree. If you have limited time in the park and just want to get in a few short hikes, this trail deserves a spot on your itinerary.
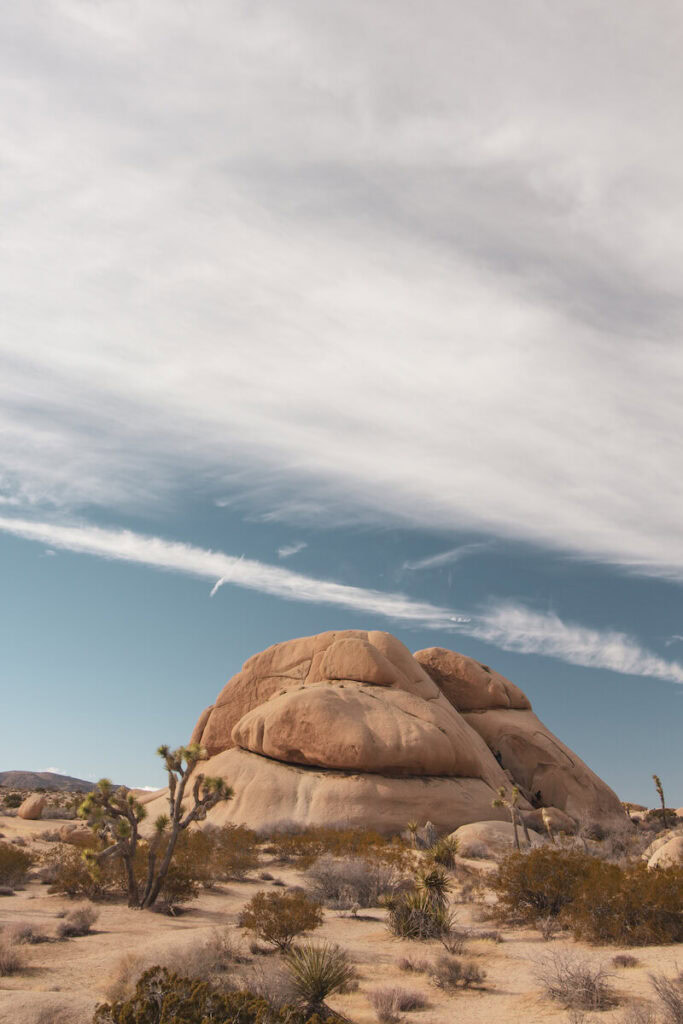
What I love about this trail is that it offers all of the elements you’d expect to see in this national park. As you hike through this “valley” – which is formed by the park’s famous giant rock formations – you’ll see tons of joshua trees and desert plants, as well as some small, easily accessible caves. There are also lots of easy to climb boulders. While the trail doesn’t take much time to hike (it’ll take about half an hour if you don’t stop), you can easily spend an hour or more here climbing up the boulders and taking in the views.
There’s a very large parking lot right at the trailhead, as well as restrooms. Since the trail is very popular, the lot does still get filled up during peak season, so you may need to park on Park Boulevard and walk in. There is also a nice picnic area on the opposite side of the parking lot from the trailhead, with picnic tables set up at the base of a large collection of boulders.
5. Hall of Horrors Loop Trail
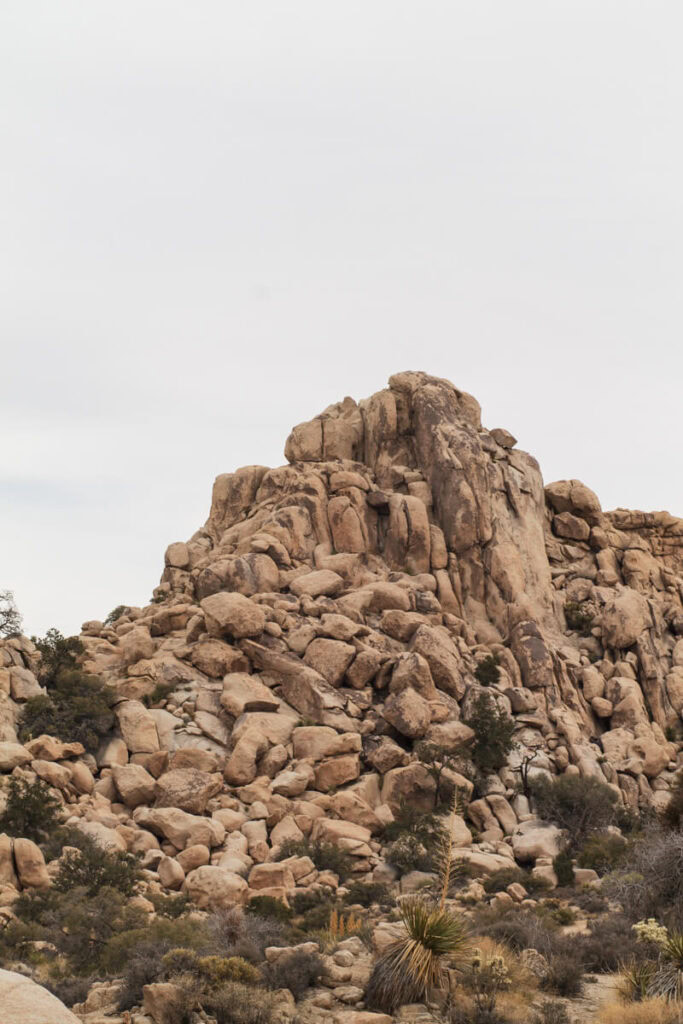
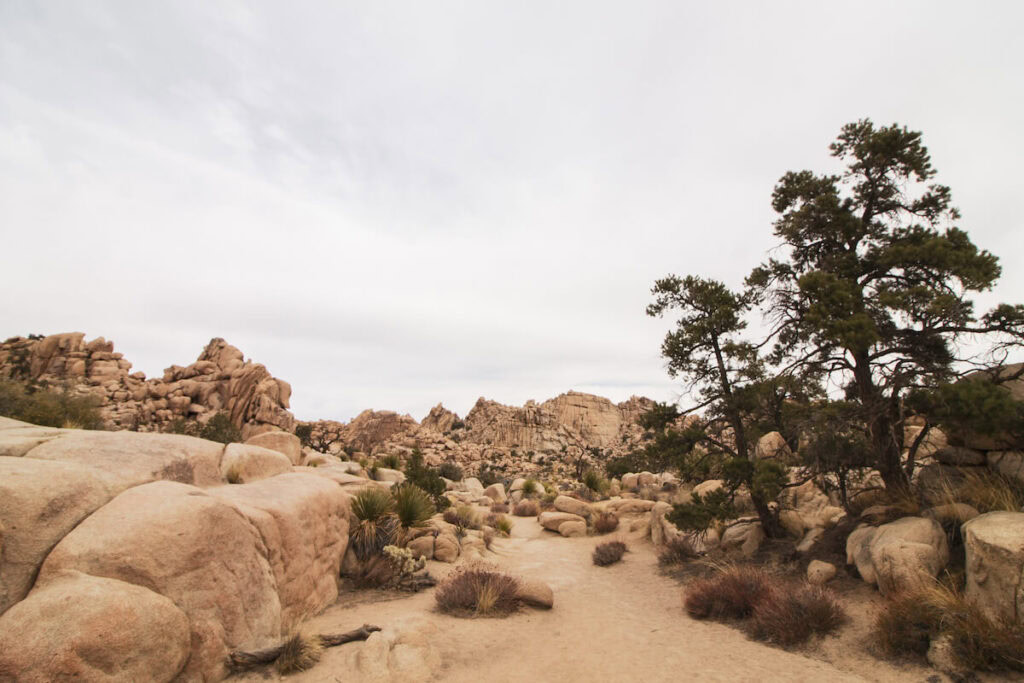
The Hall of Horrors Loop Trail is a great, super easy and short hike that offers everything you’d want from a Joshua Tree hike: local plants, giant boulders, and an otherworldly desert landscape. What makes this spot especially special, however, is the slot canyon located just off the trail – appropriately called the Hall of Horrors.
Those feeling a little adventurous can go off trail and scramble over some rocks to get to this slot canyon. It’s located in the cluster of rocks furthest from the trailhead. I suggest saving these coordinates to help you find the canyon while you’re there. Since you will need to clamber over some rocks, I highly recommend wearing shoes with good traction.
This trek is going to be more challenging than just hiking the trail itself. That said, you don’t have to do much off trail exploring to find it, and it’s well worth the effort!
There is a good-sized parking lot at the trailhead, as well as restrooms.
6. Ryan Mountain Trail
If you’re looking for a slightly more challenging trail (that still isn’t super long), check out Ryan Mountain Trail. This hike is going to be more of a workout compared to many other trails on this list, since you’ll be hiking uphill half of the time. However, it’s well-worth the effort – after hiking up the mountain for one and a half miles, you’ll be treated with sweeping views of the park and beyond. This makes it a particularly popular trail to enjoy around sunrise and sunset.
At the start of this out-and-back trail, you’ll see the park’s famous giant boulders. As you make your way up the mountain, you’ll pass by plenty of cacti and other desert plants.
There is a fairly large parking lot at the trailhead. There are also restrooms just off the lot.
7. Skull Rock and Jumbo Rocks Campground Loop Trails
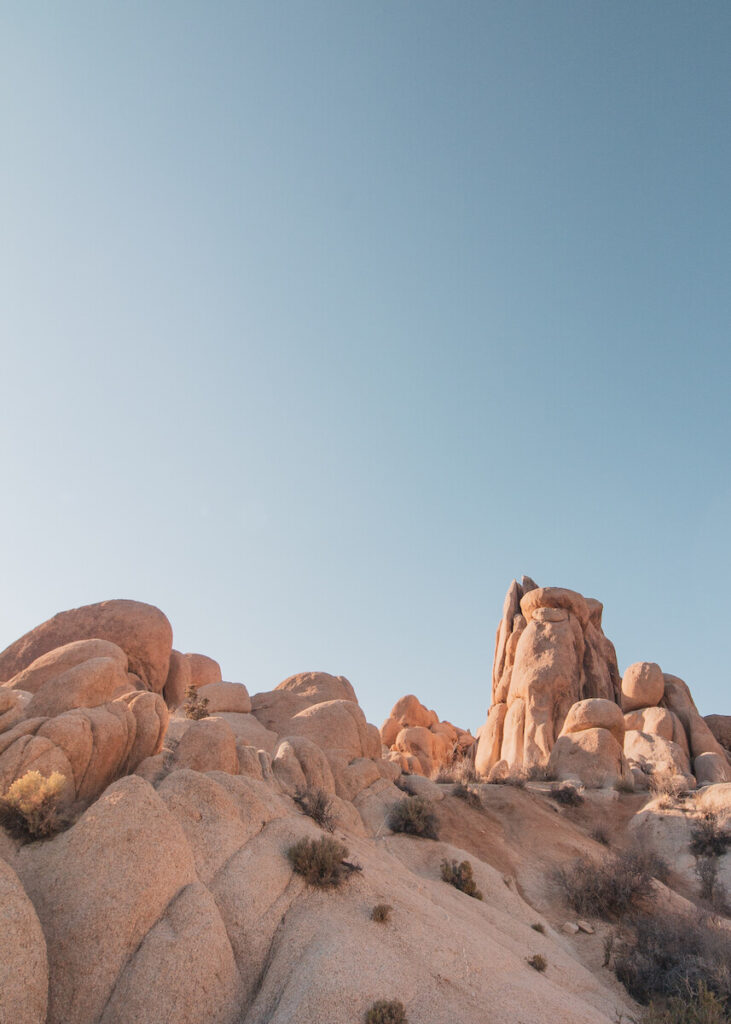
The Jumbo Rocks Campground Loop and the Skull Rock Loop Trails are the best trails in Joshua Tree for those looking to do some easy rock clambering. This is one of my favorite areas to hike in the park, as there are a ton of massive boulder formations that are easy to climb up (no gear required beyond shoes with good traction!).
I especially love the first half mile of the Skull Rock Loop – there are a ton of great opportunities to go off trail and explore among the rocks. It’s also always been fairly quiet in that area when I’ve visited (even during peak season), which is a huge plus.
These two trails partially cover the same ground. Once you get to the Jumbo Rocks section of the trail, keep in mind that you are largely walking on a paved road through the campground. The fun of the trail comes from exploring the rock formations just off the road.
If you’re looking to choose between the two, I’d recommend hiking the Skull Rock Loop Trail. If you want to add a bit more to your hike, you can tack on the additional three-quarters of a mile to finish the Jumbo Rocks trail.
Note that there isn’t a parking lot available, unless you happen to be camping at Jumbo Rocks Campground. However, it’s easy to find street parking on Park Boulevard.
8. Split Rock Loop Trail
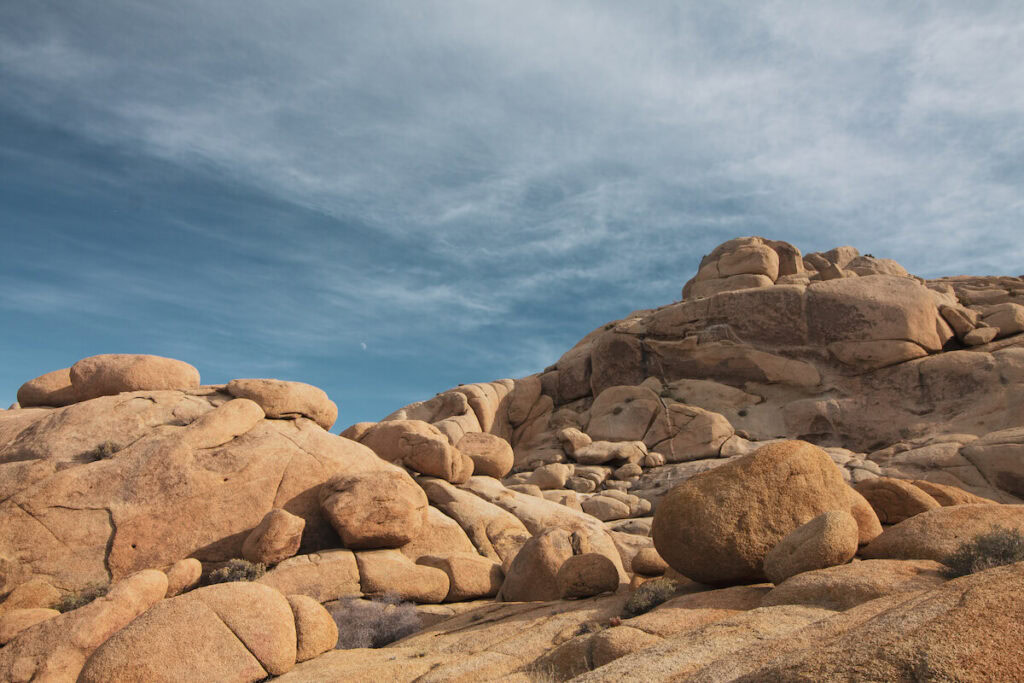
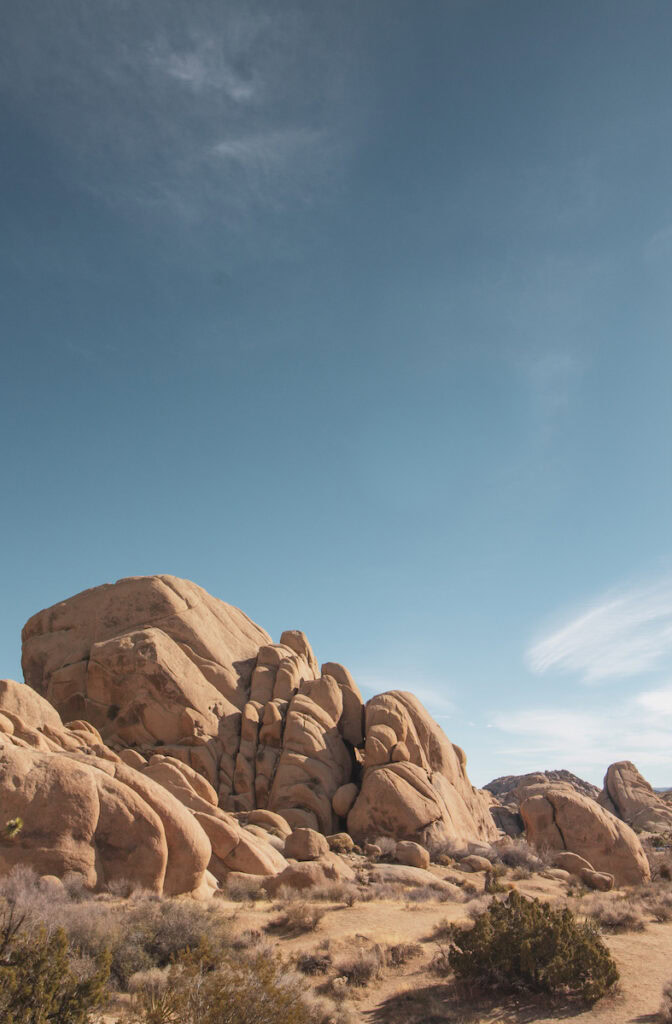
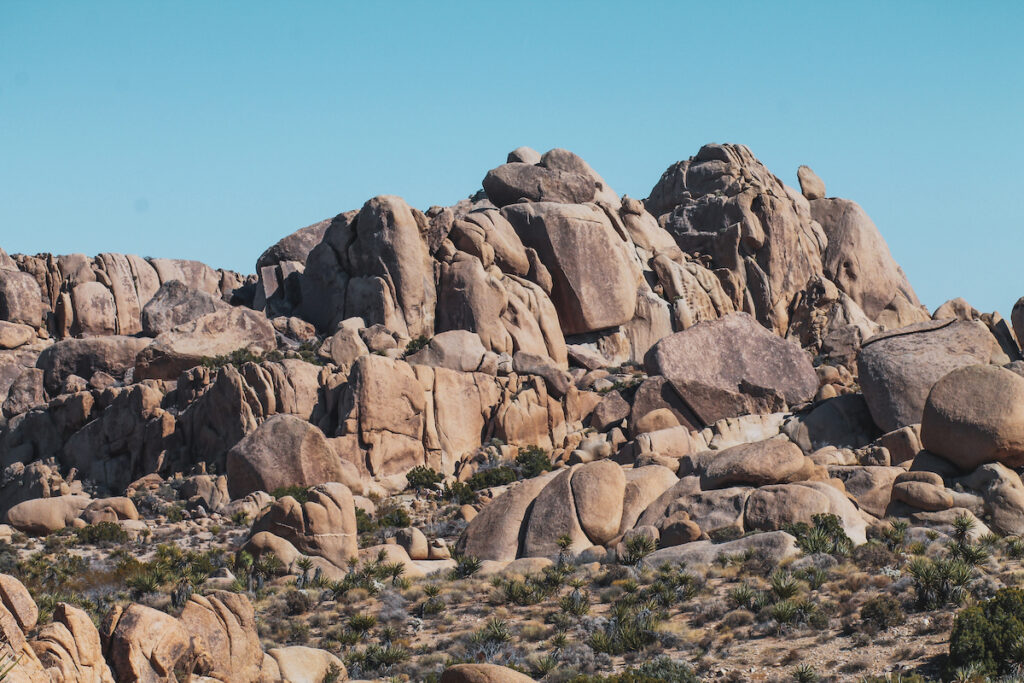
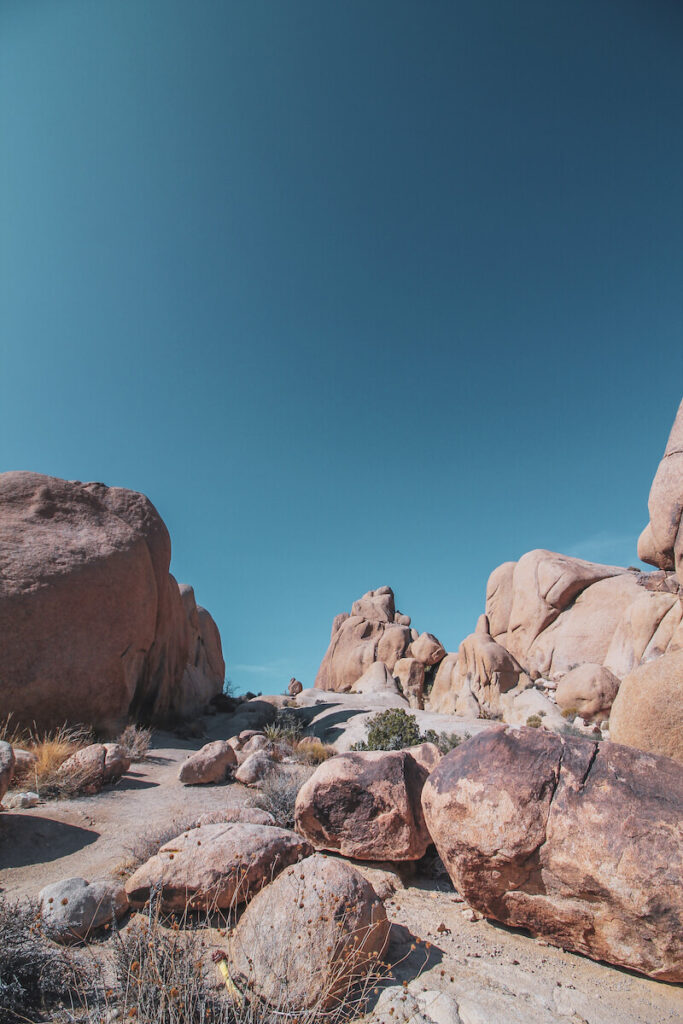
Split Rock Loop Trail is one of my favorite trails in the park, and the top option I’d recommend for anyone looking for an easy hike that’s on the longer end (at least compared to the other easy trails in the park!). The trail offers a beautiful, varied landscape. You’ll see plenty of cool rocks and desert plants, and may even see some animals.
One thing to note is that the trail isn’t always super clearly marked. I’ve managed without it, but it’s not a bad idea to download the trail map on AllTrails for offline use (note that you do need a paid membership to do this).
There’s a very small lot at the trailhead, and since it’s popular, it does fill up quickly. You might need to street park and walk to the trail. You can’t park on Split Rock Road (the short road leading up to the trail), so you’ll need to park on Park Boulevard and walk up.
9. Arch Rock Nature Trail
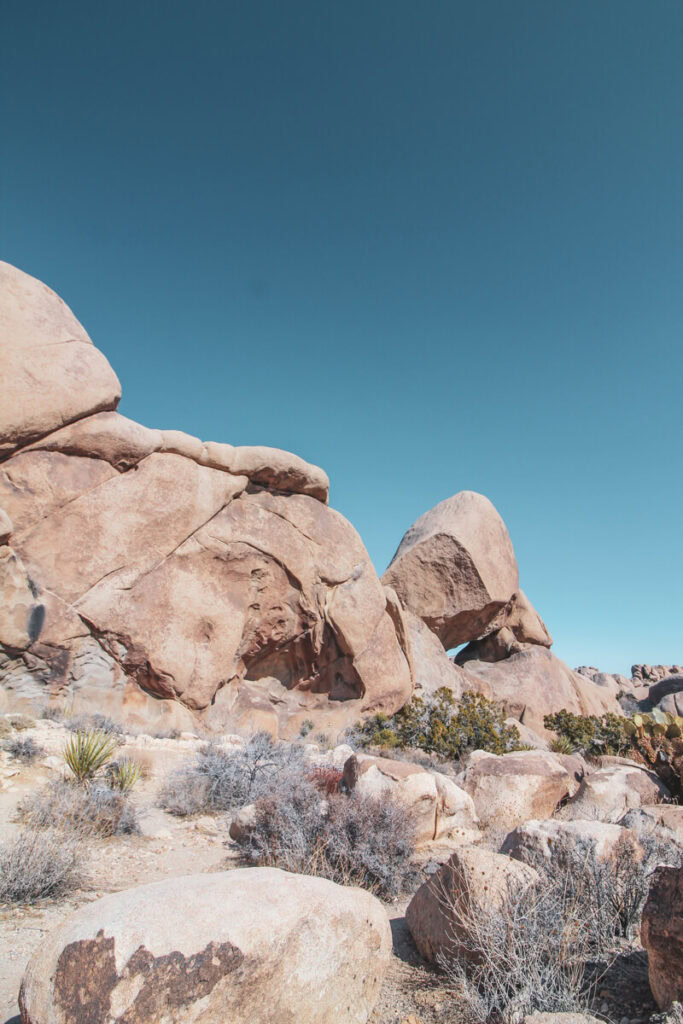
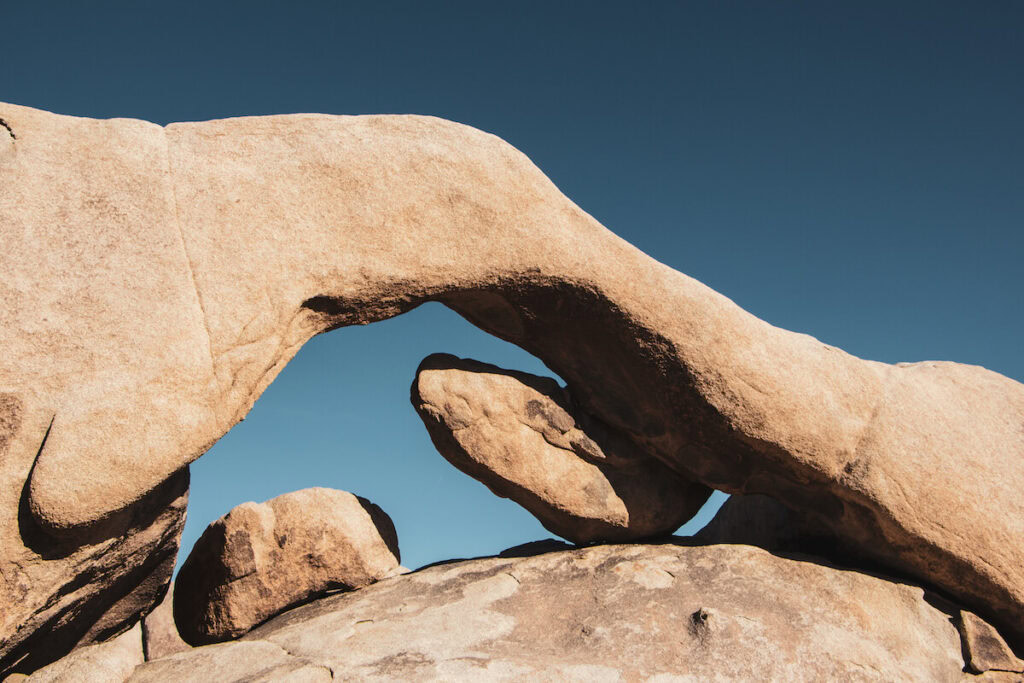
Arch Rock Trail takes you out to one of the most iconic rock formations in the park. Arch Rock itself is super photo-worthy, but if you’re visiting during peak season, you’ll probably have to wait in line to take a snap.
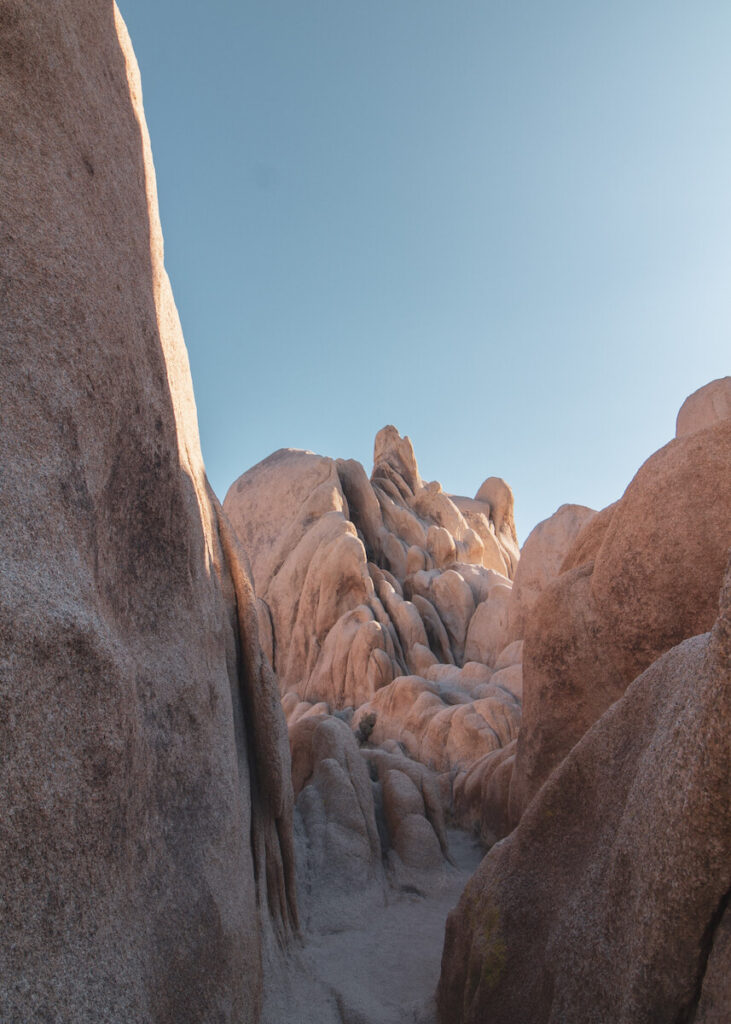
Arch Rock is located within a collection of densely packed boulders. It’s definitely worth taking some time to go off-trail, do some rock scrambling, and explore the area – just be sure to stay aware of your surroundings so that you can find your way back! If you’d like, you can also make your way out to Heart Rock. It’s located about a third of a mile northeast of Arch Rock.
There is a parking lot at the trailhead. Note that it’s located on the opposite side of Pinto Basin Road from Arch Rock. You’ll start on the trail, cross the road, and then make your way towards Arch Rock. The first portion of the trail isn’t anything to write home about, but things get more interesting as you approach the rocks. There also isn’t a restroom here, but there is one at White Tank Campground, which is close to Arch Rock.
10. Cholla Cactus Garden
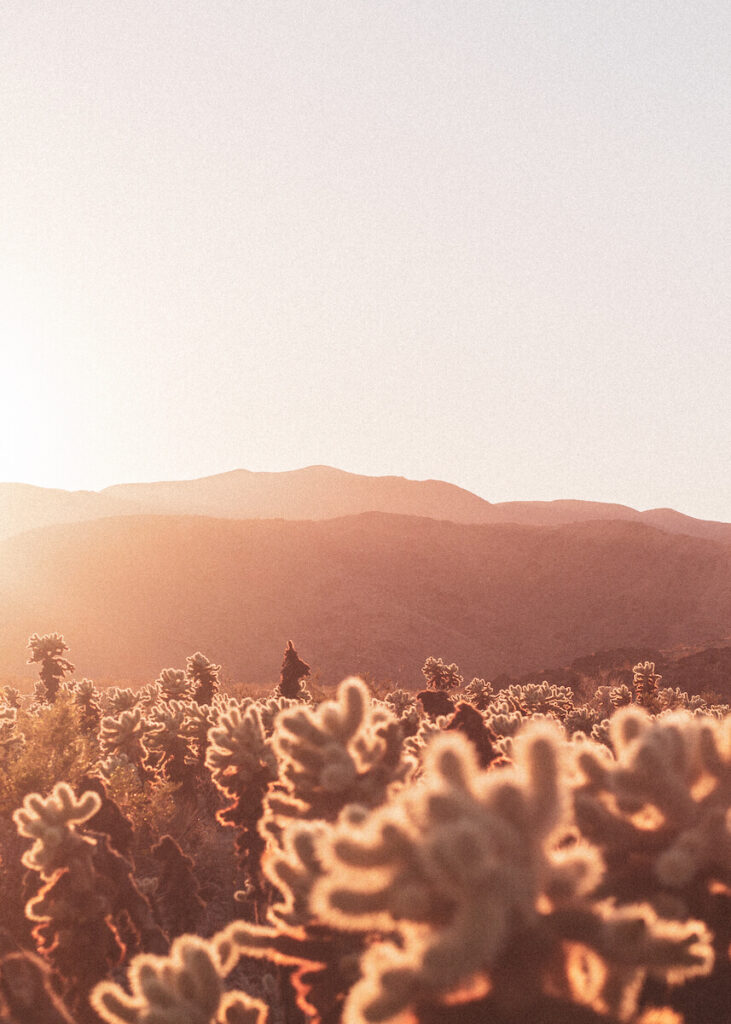
Last but not least is the Cholla Cactus Garden Trail. The is one of the ultimate Joshua Tree trails to enjoy around sunrise or sunset.
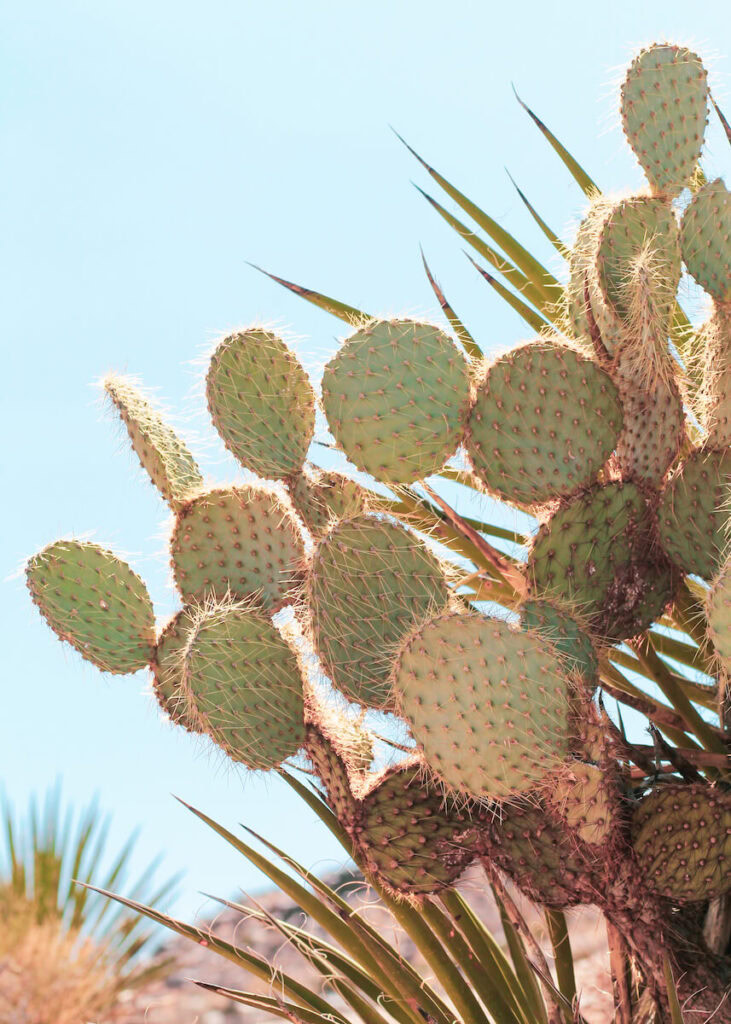
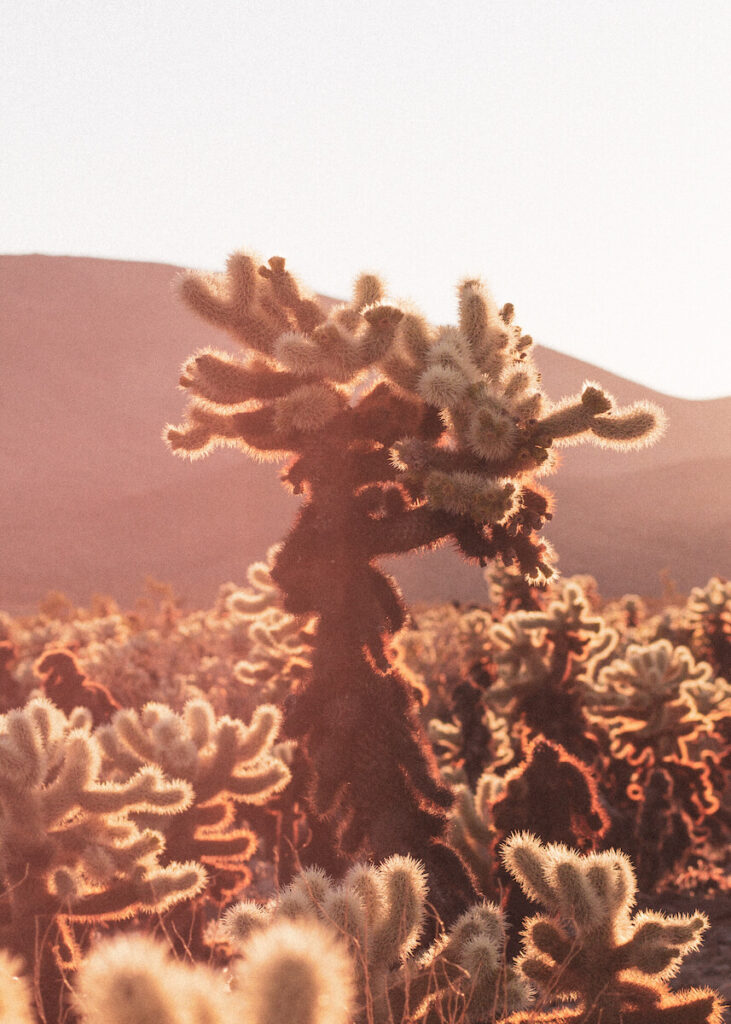
This trail is super easy and short, but it gives you a landscape that’s a bit different from what you’ll find in other areas of the park. This area is densely packed with cholla cacti. These desert plants have somewhat translucent needles that glow in the sunlight during sunrise and sunset. Note that they are very sharp, so you’ll want to keep your distance!
There is a parking lot at the trailhead, and it’s also very easy to park on the street. Keep in mind that there isn’t a restroom at the trailhead.
Note: there are mountains west of the trail that block the sun earlier than the actual sunset time. Keeping this in mind, you’ll want to arrive no later than half an hour before sunset to actually see the cacti glow in the golden hour light!
I hope you have an incredible time hiking your way through Joshua Tree! Here are some additional travel guides to help you plan your trip:

6 Comments
Comments are closed.